
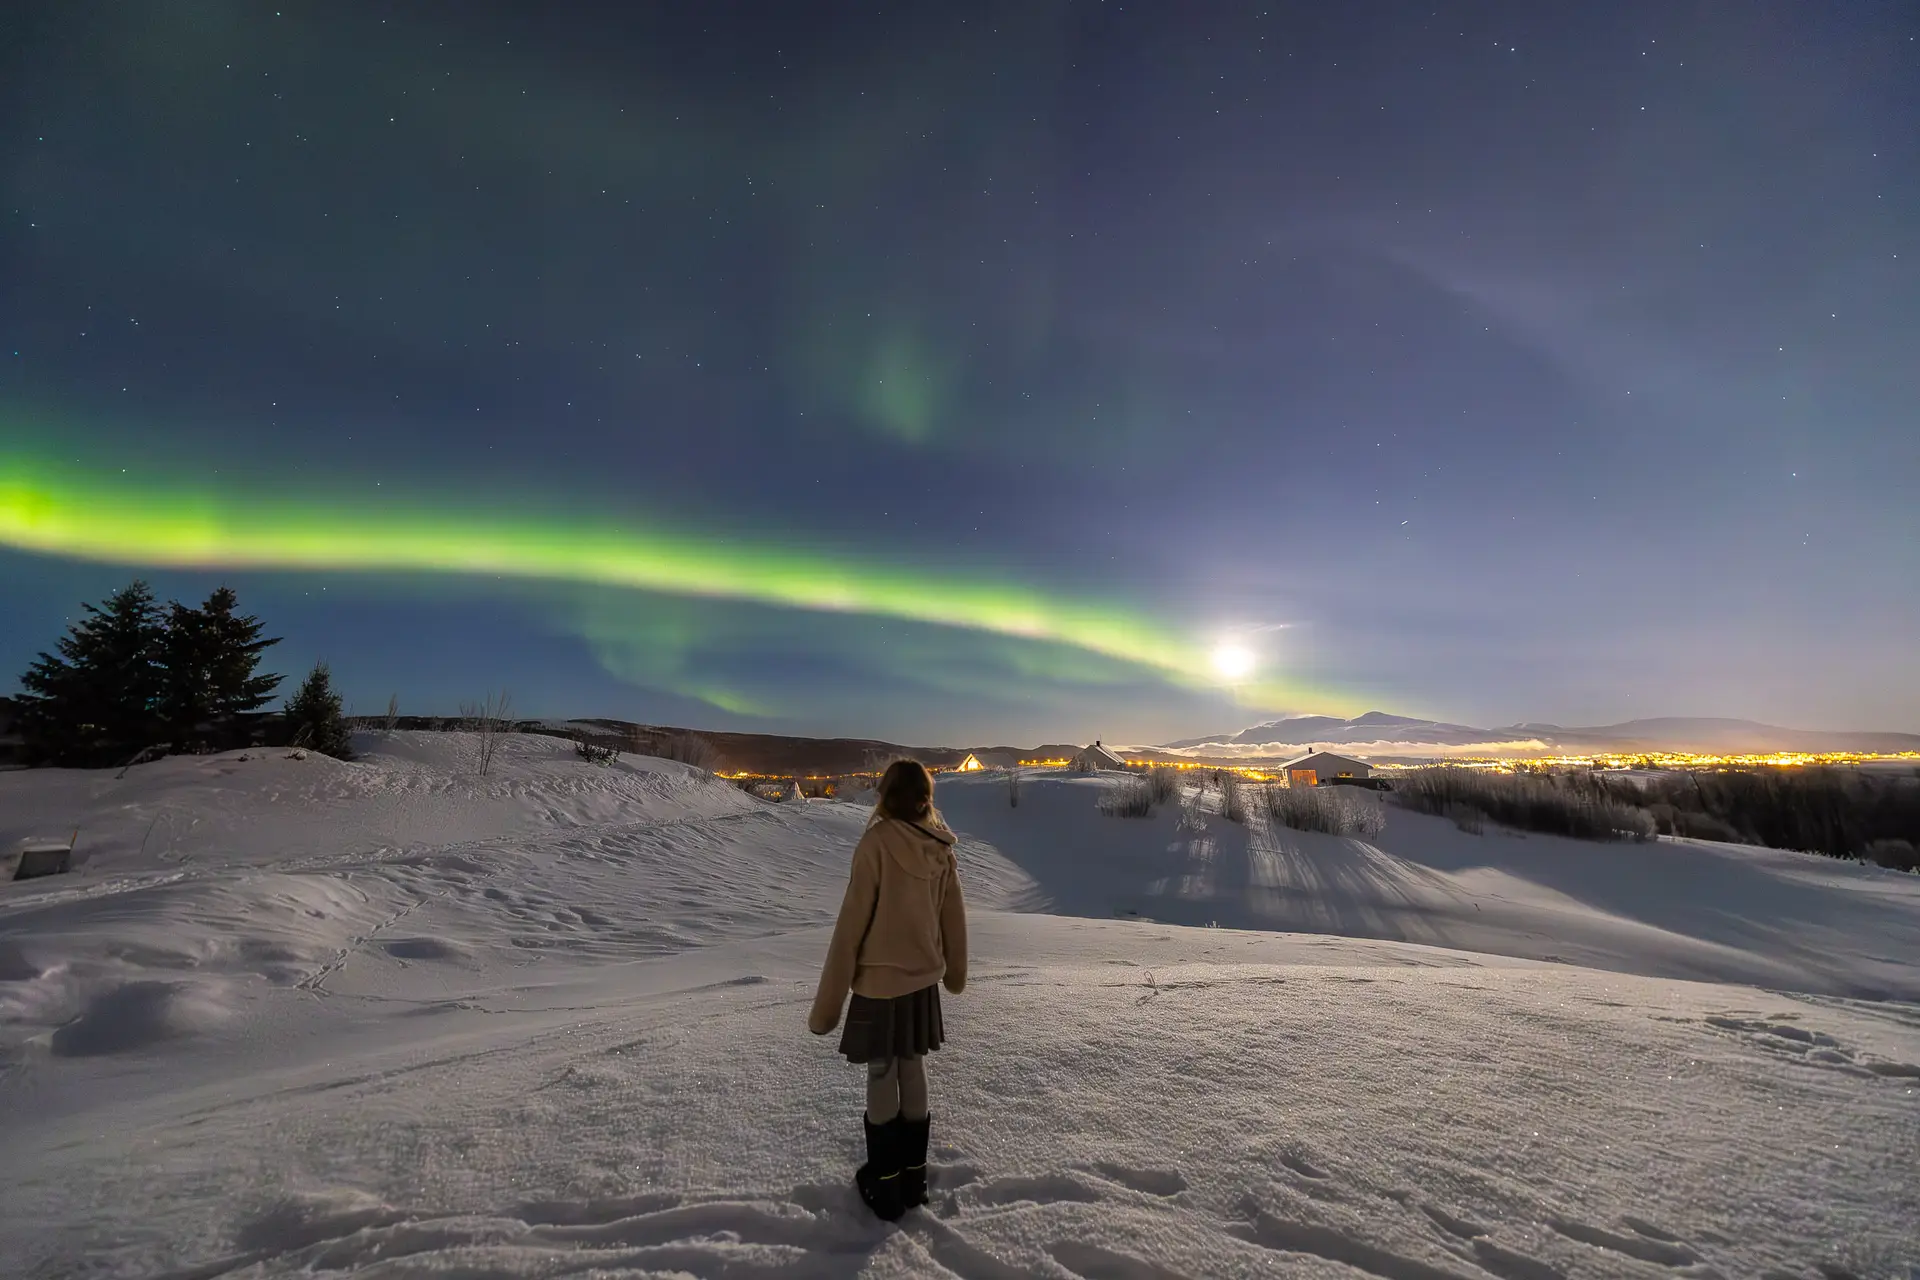
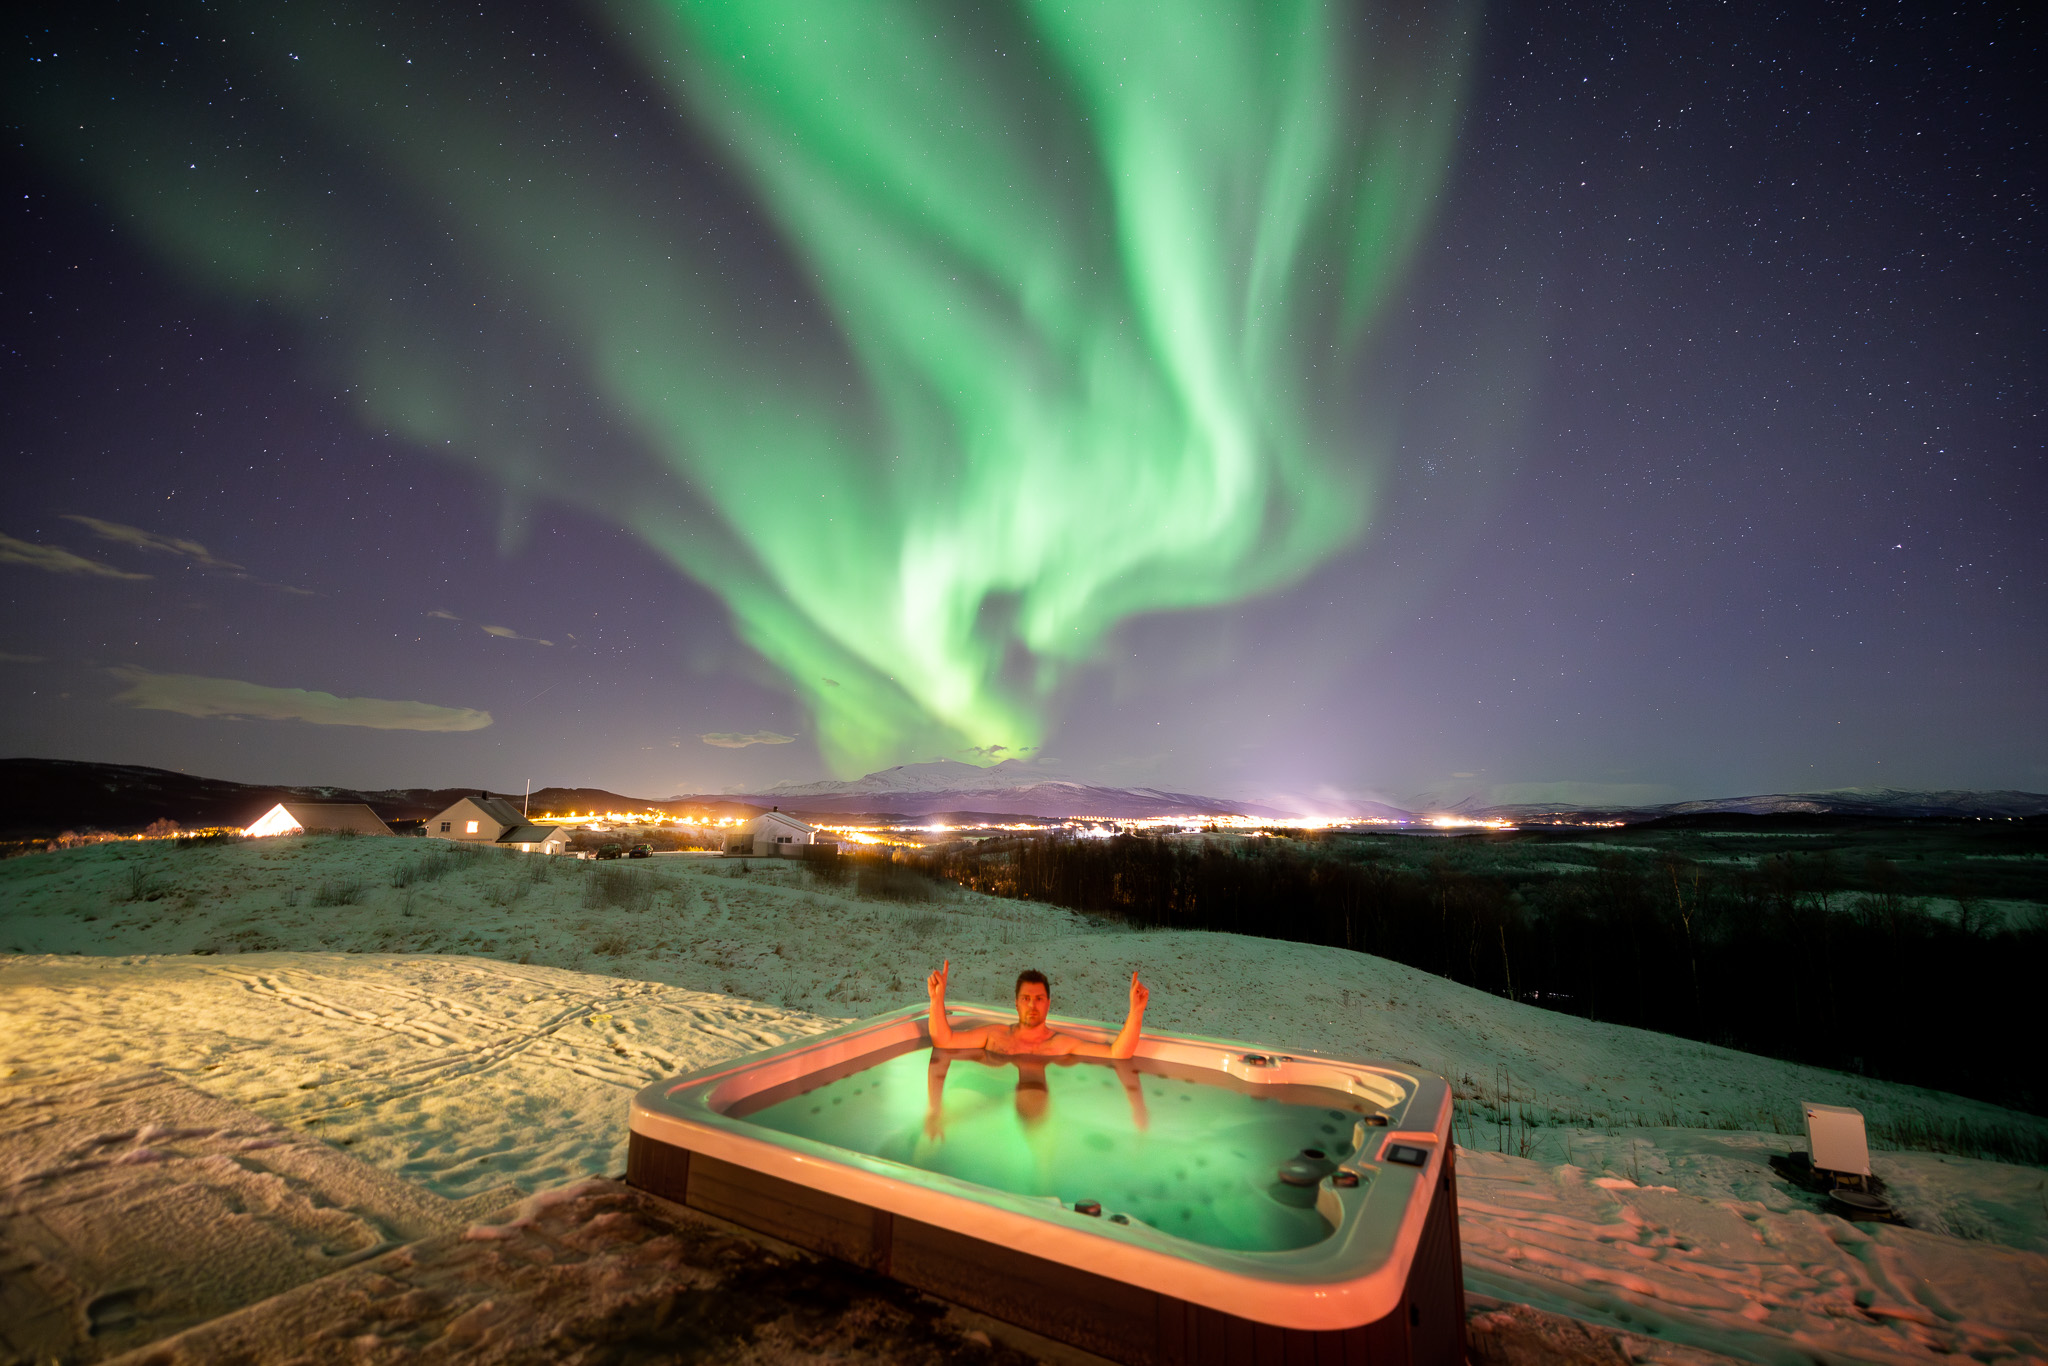
Aurora Photography at Aurora Borealis Observatory
Few places make northern lights photography as easy and rewarding as Aurora Borealis Observatory. With dark surroundings, open sky, panoramic views and years of local aurora experience, our resort is designed for guests who want to see, enjoy and capture the northern lights.
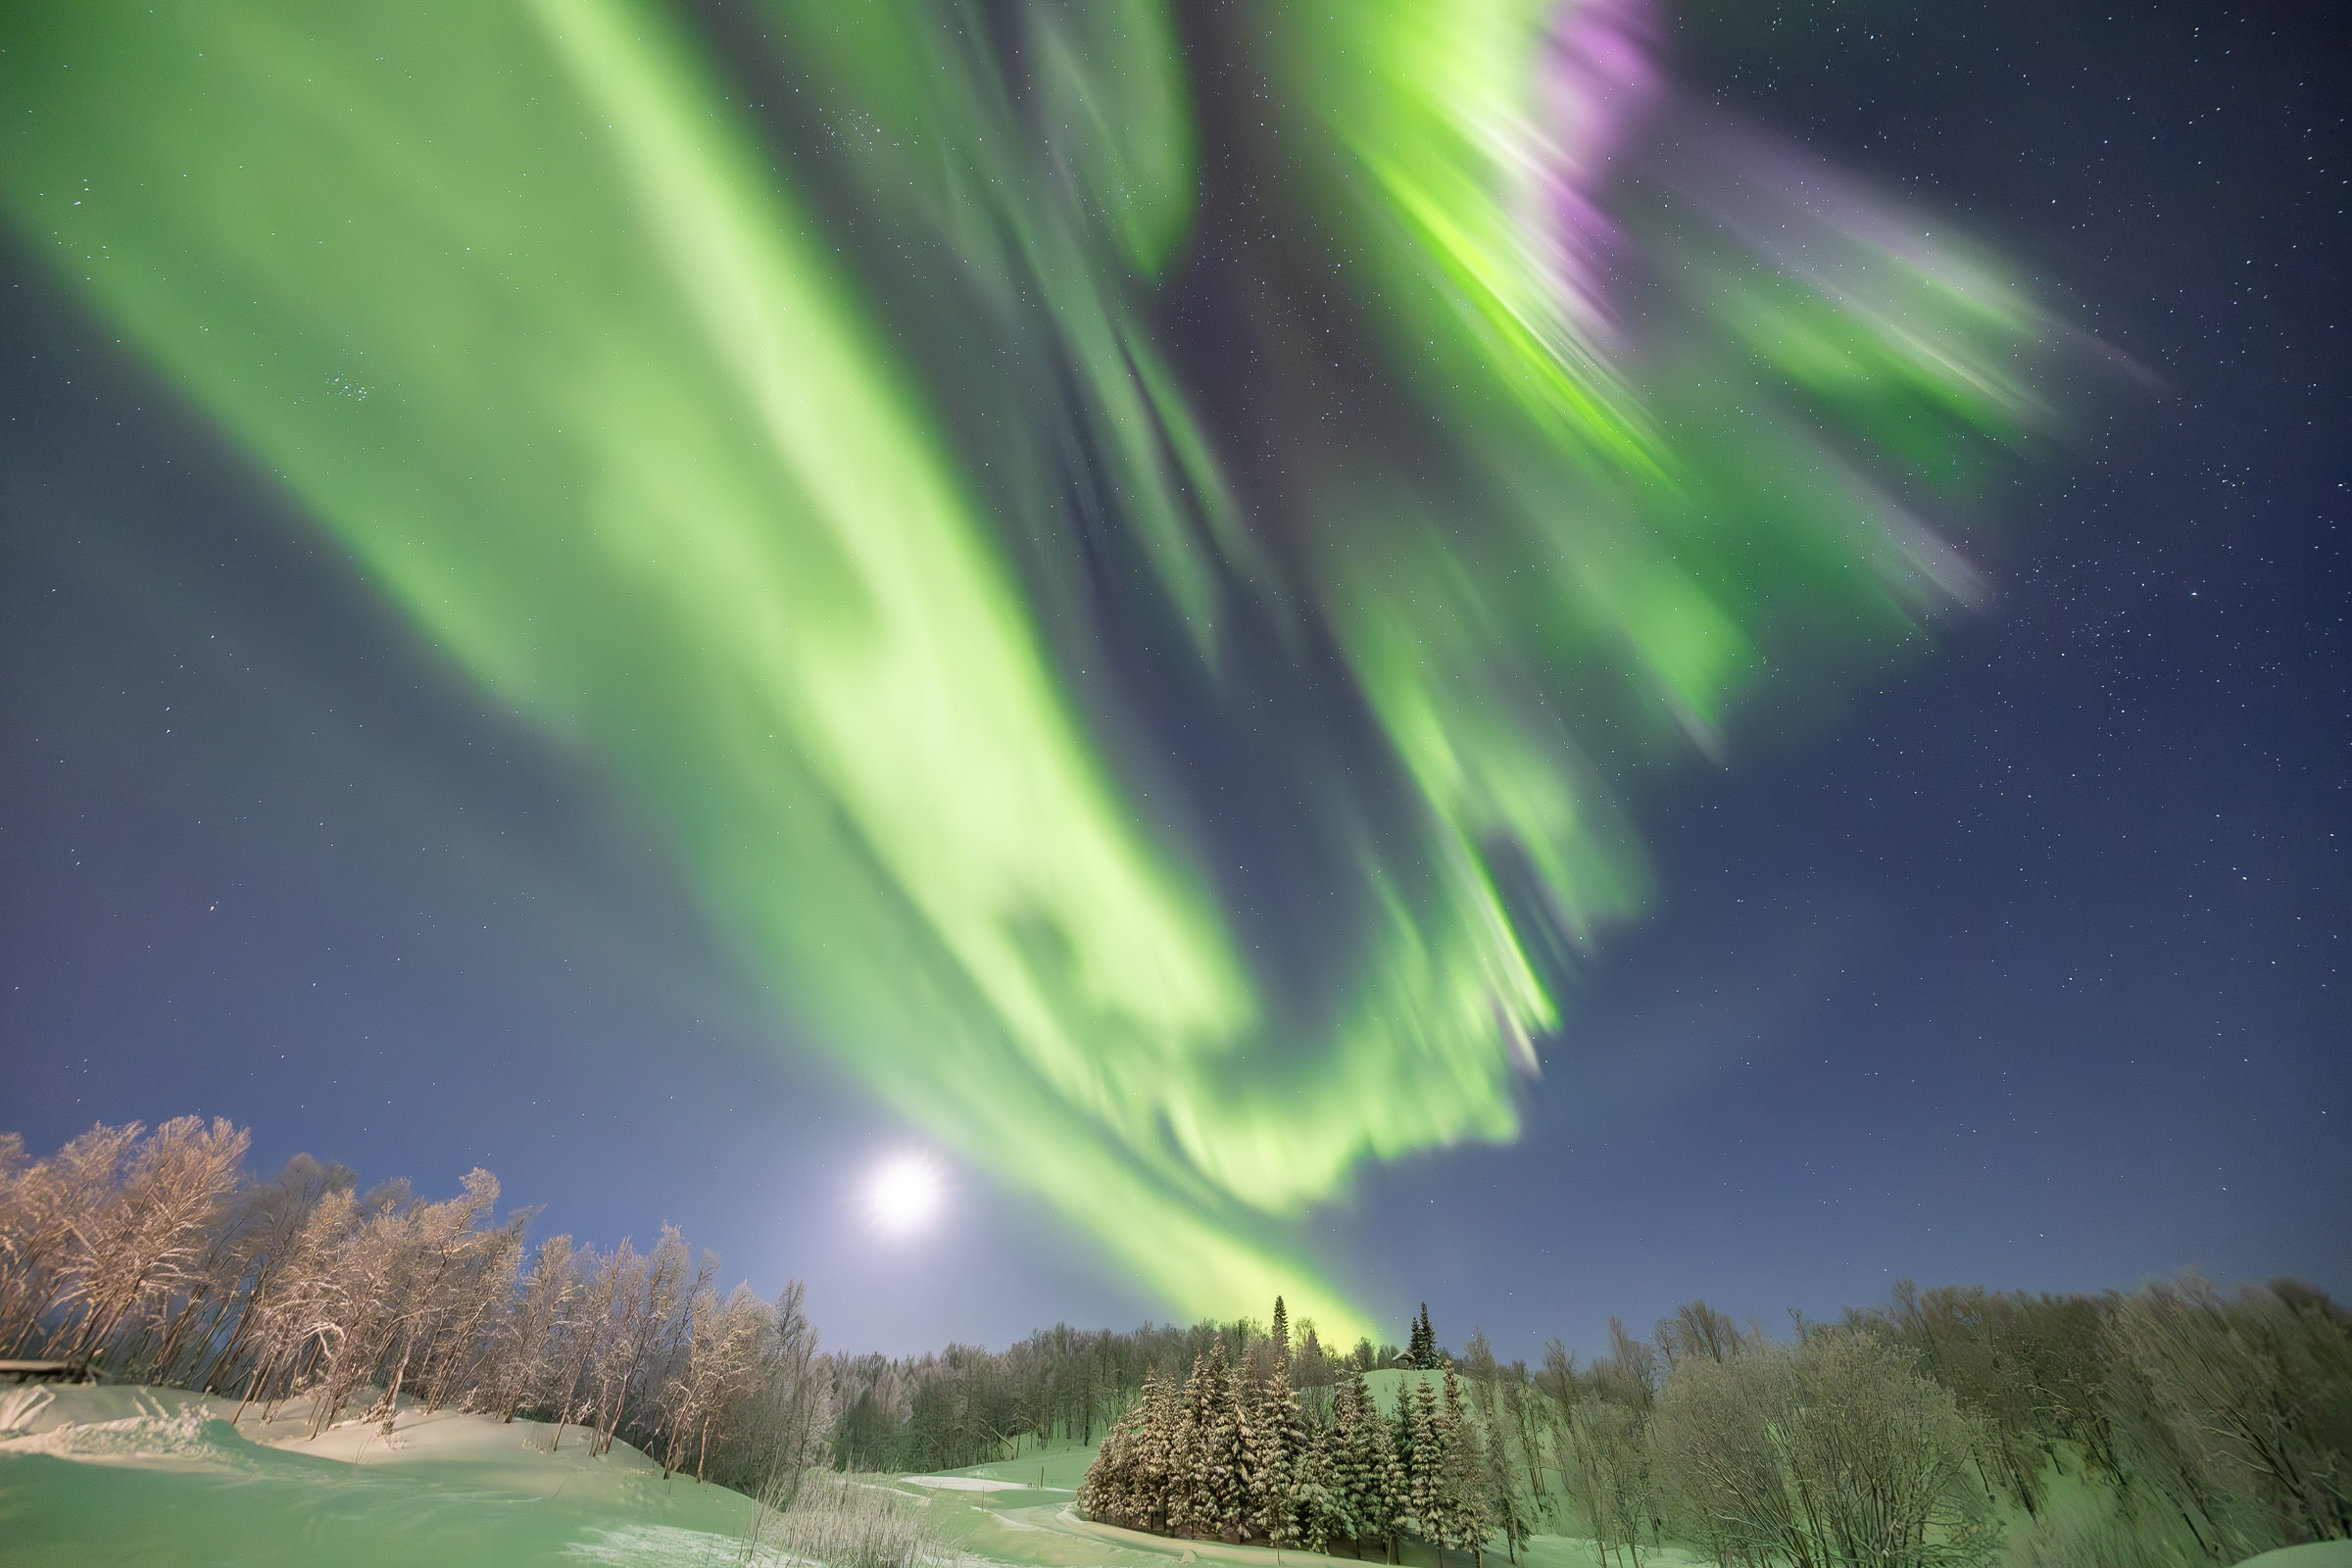
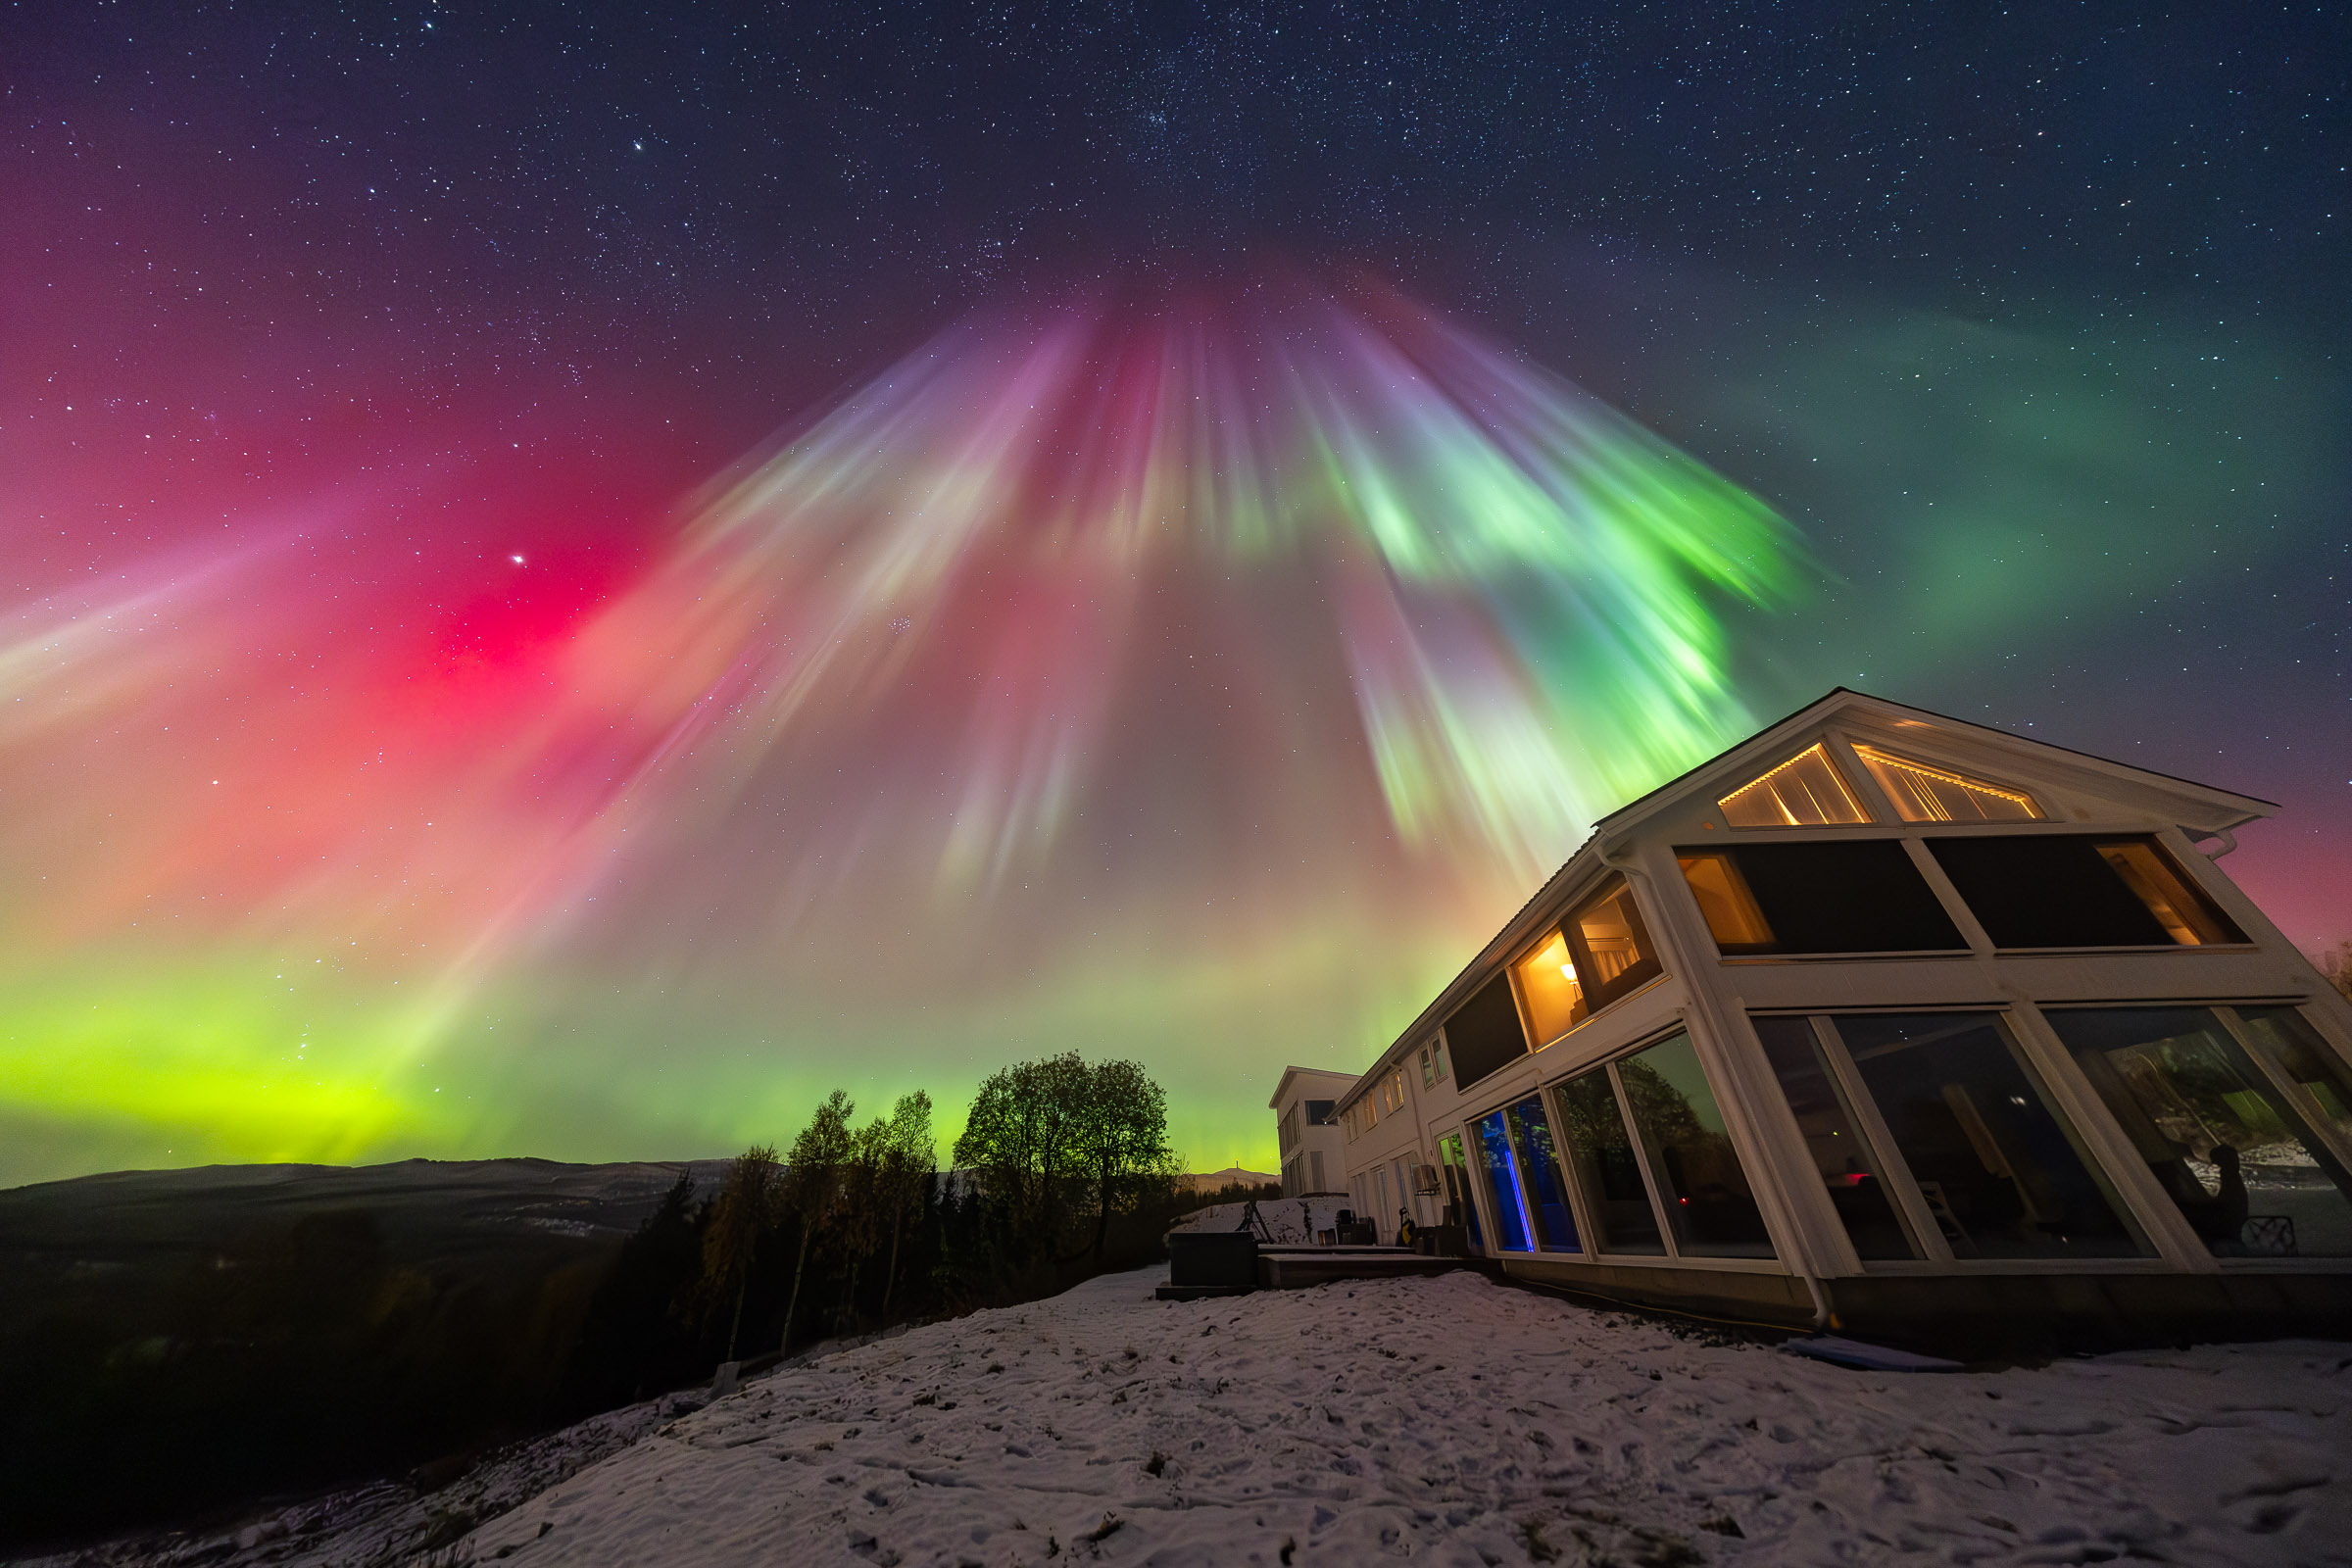
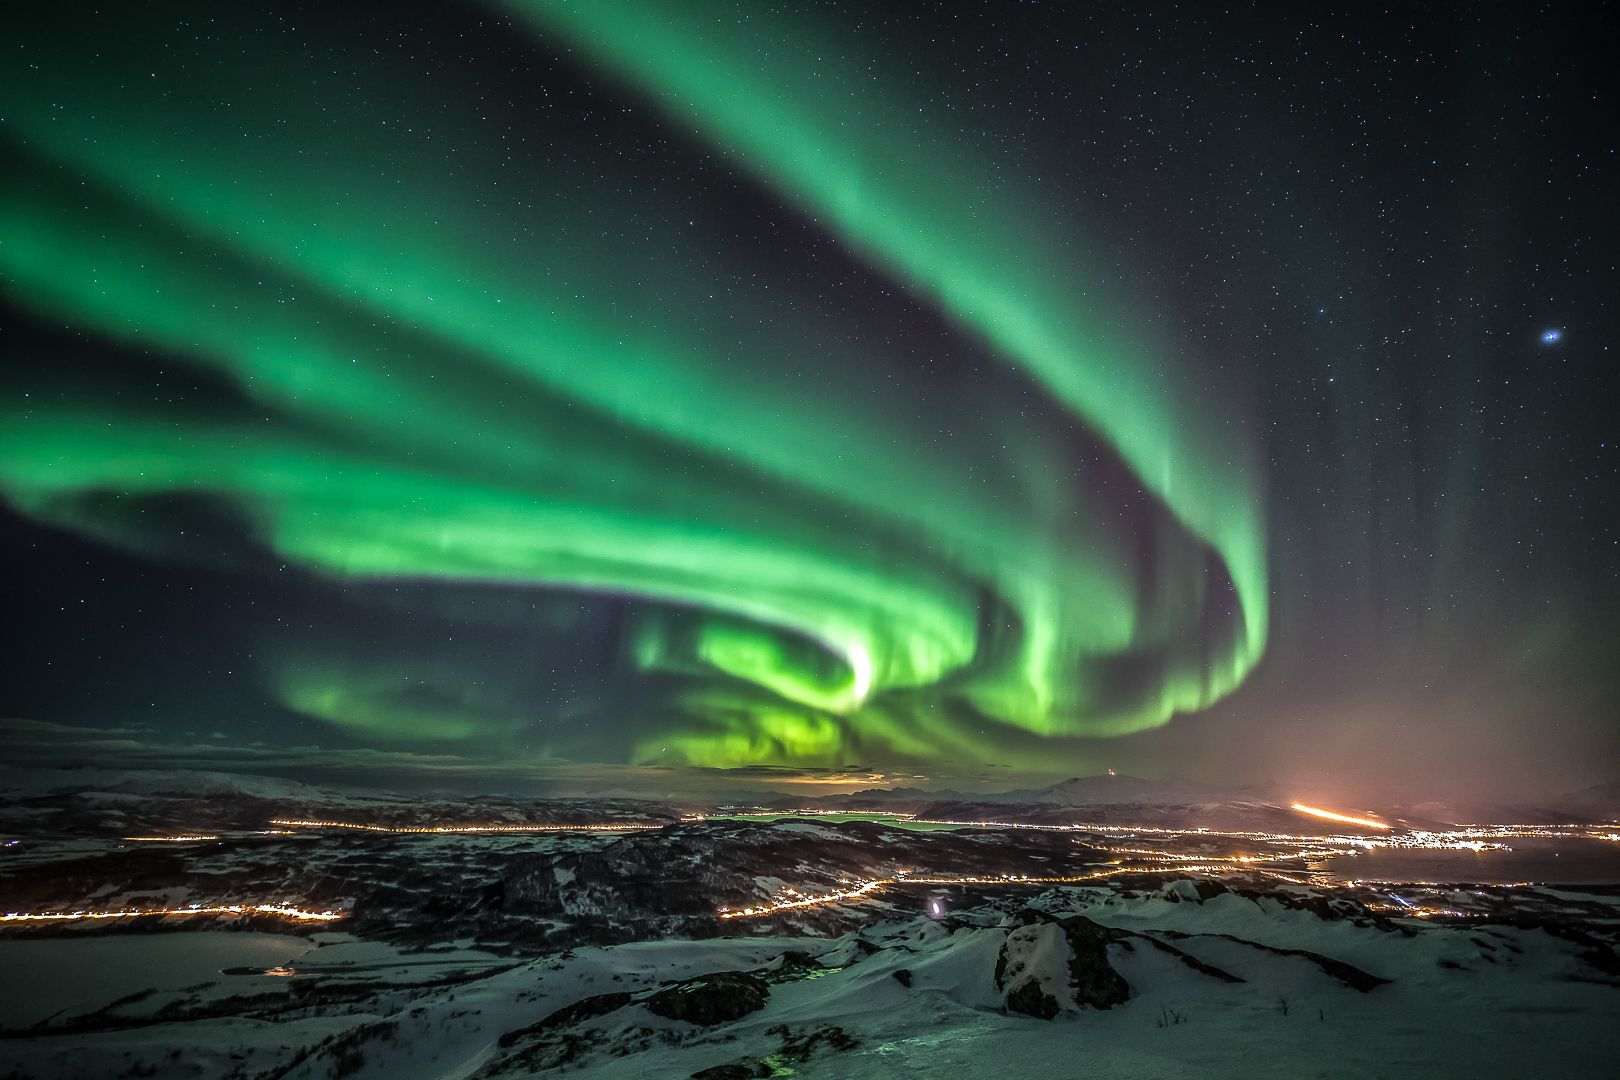
Why Photographing the Northern Lights Is So Special
The aurora is never the same twice. Sometimes it appears as a soft green arc above the horizon, other times it explodes into curtains, rays and colors across the entire sky. Capturing it on camera lets you bring home more than a memory — it gives you a frozen moment from one of nature’s most magical shows.
Best Equipment for Aurora Photography
You do not need the most expensive camera in the world, but the right basics make a huge difference when photographing the northern lights.
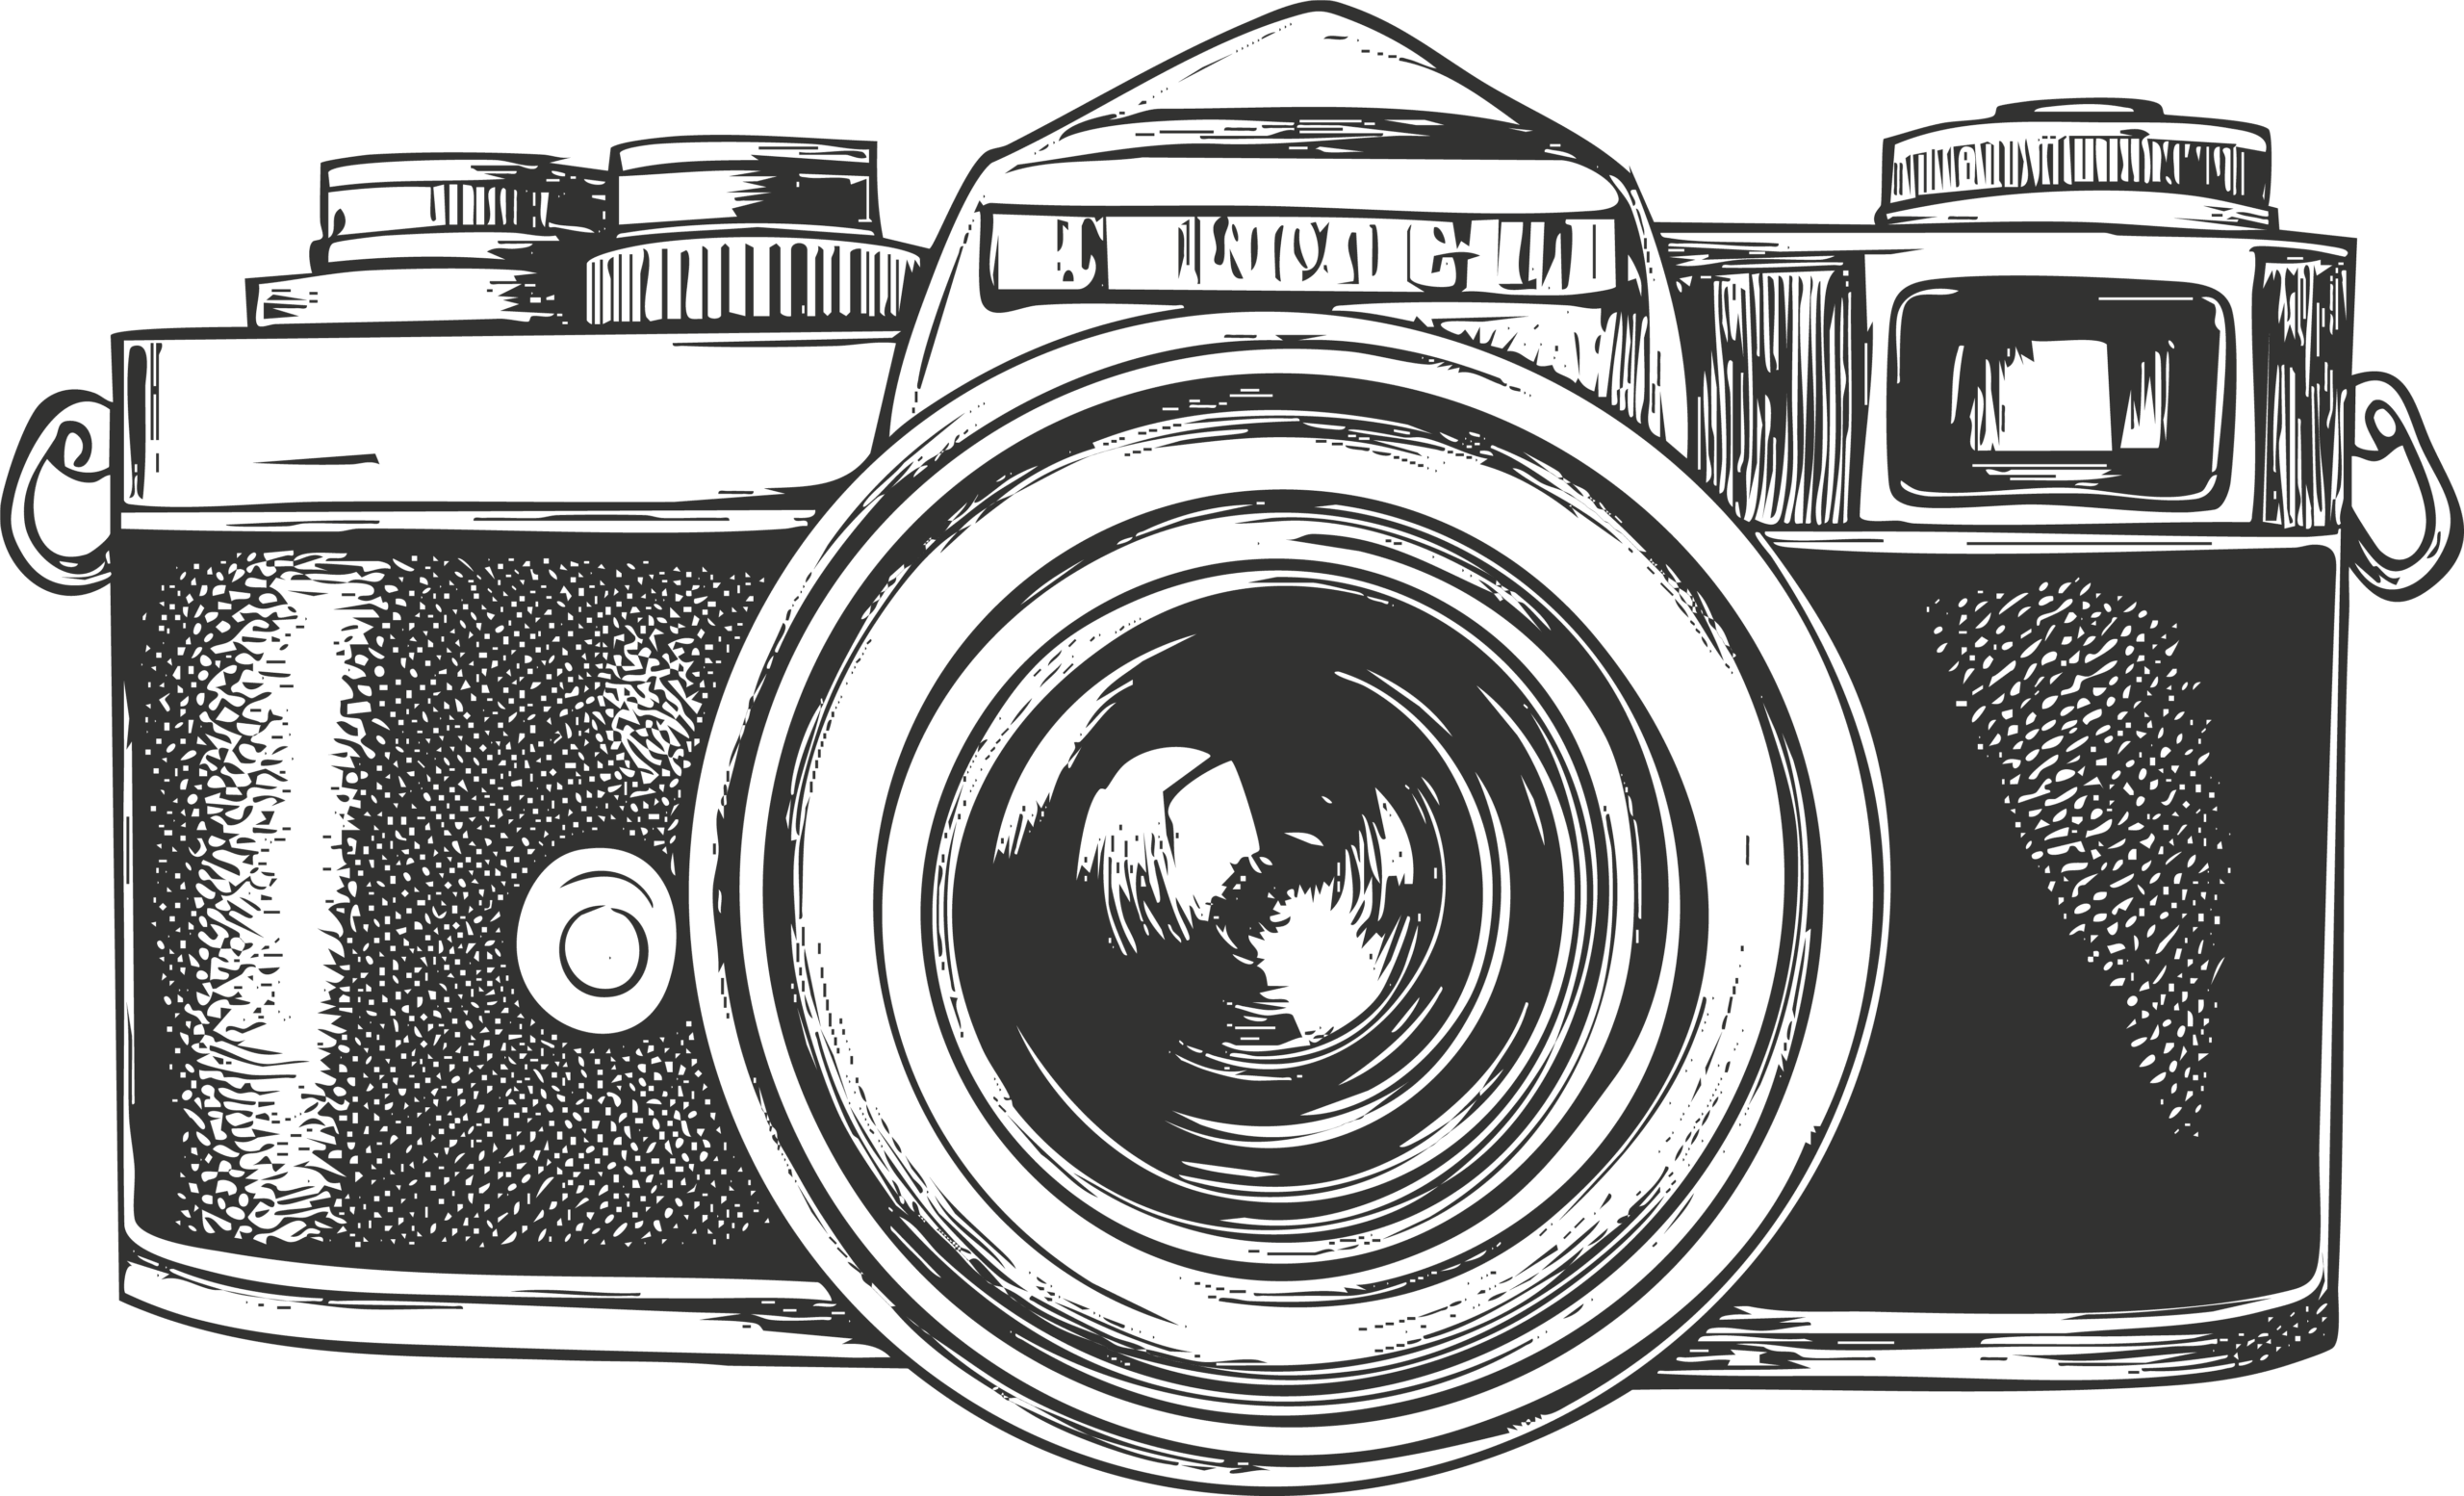
Camera & Cards
A camera with manual control over shutter speed, aperture, ISO and focus gives the best results.
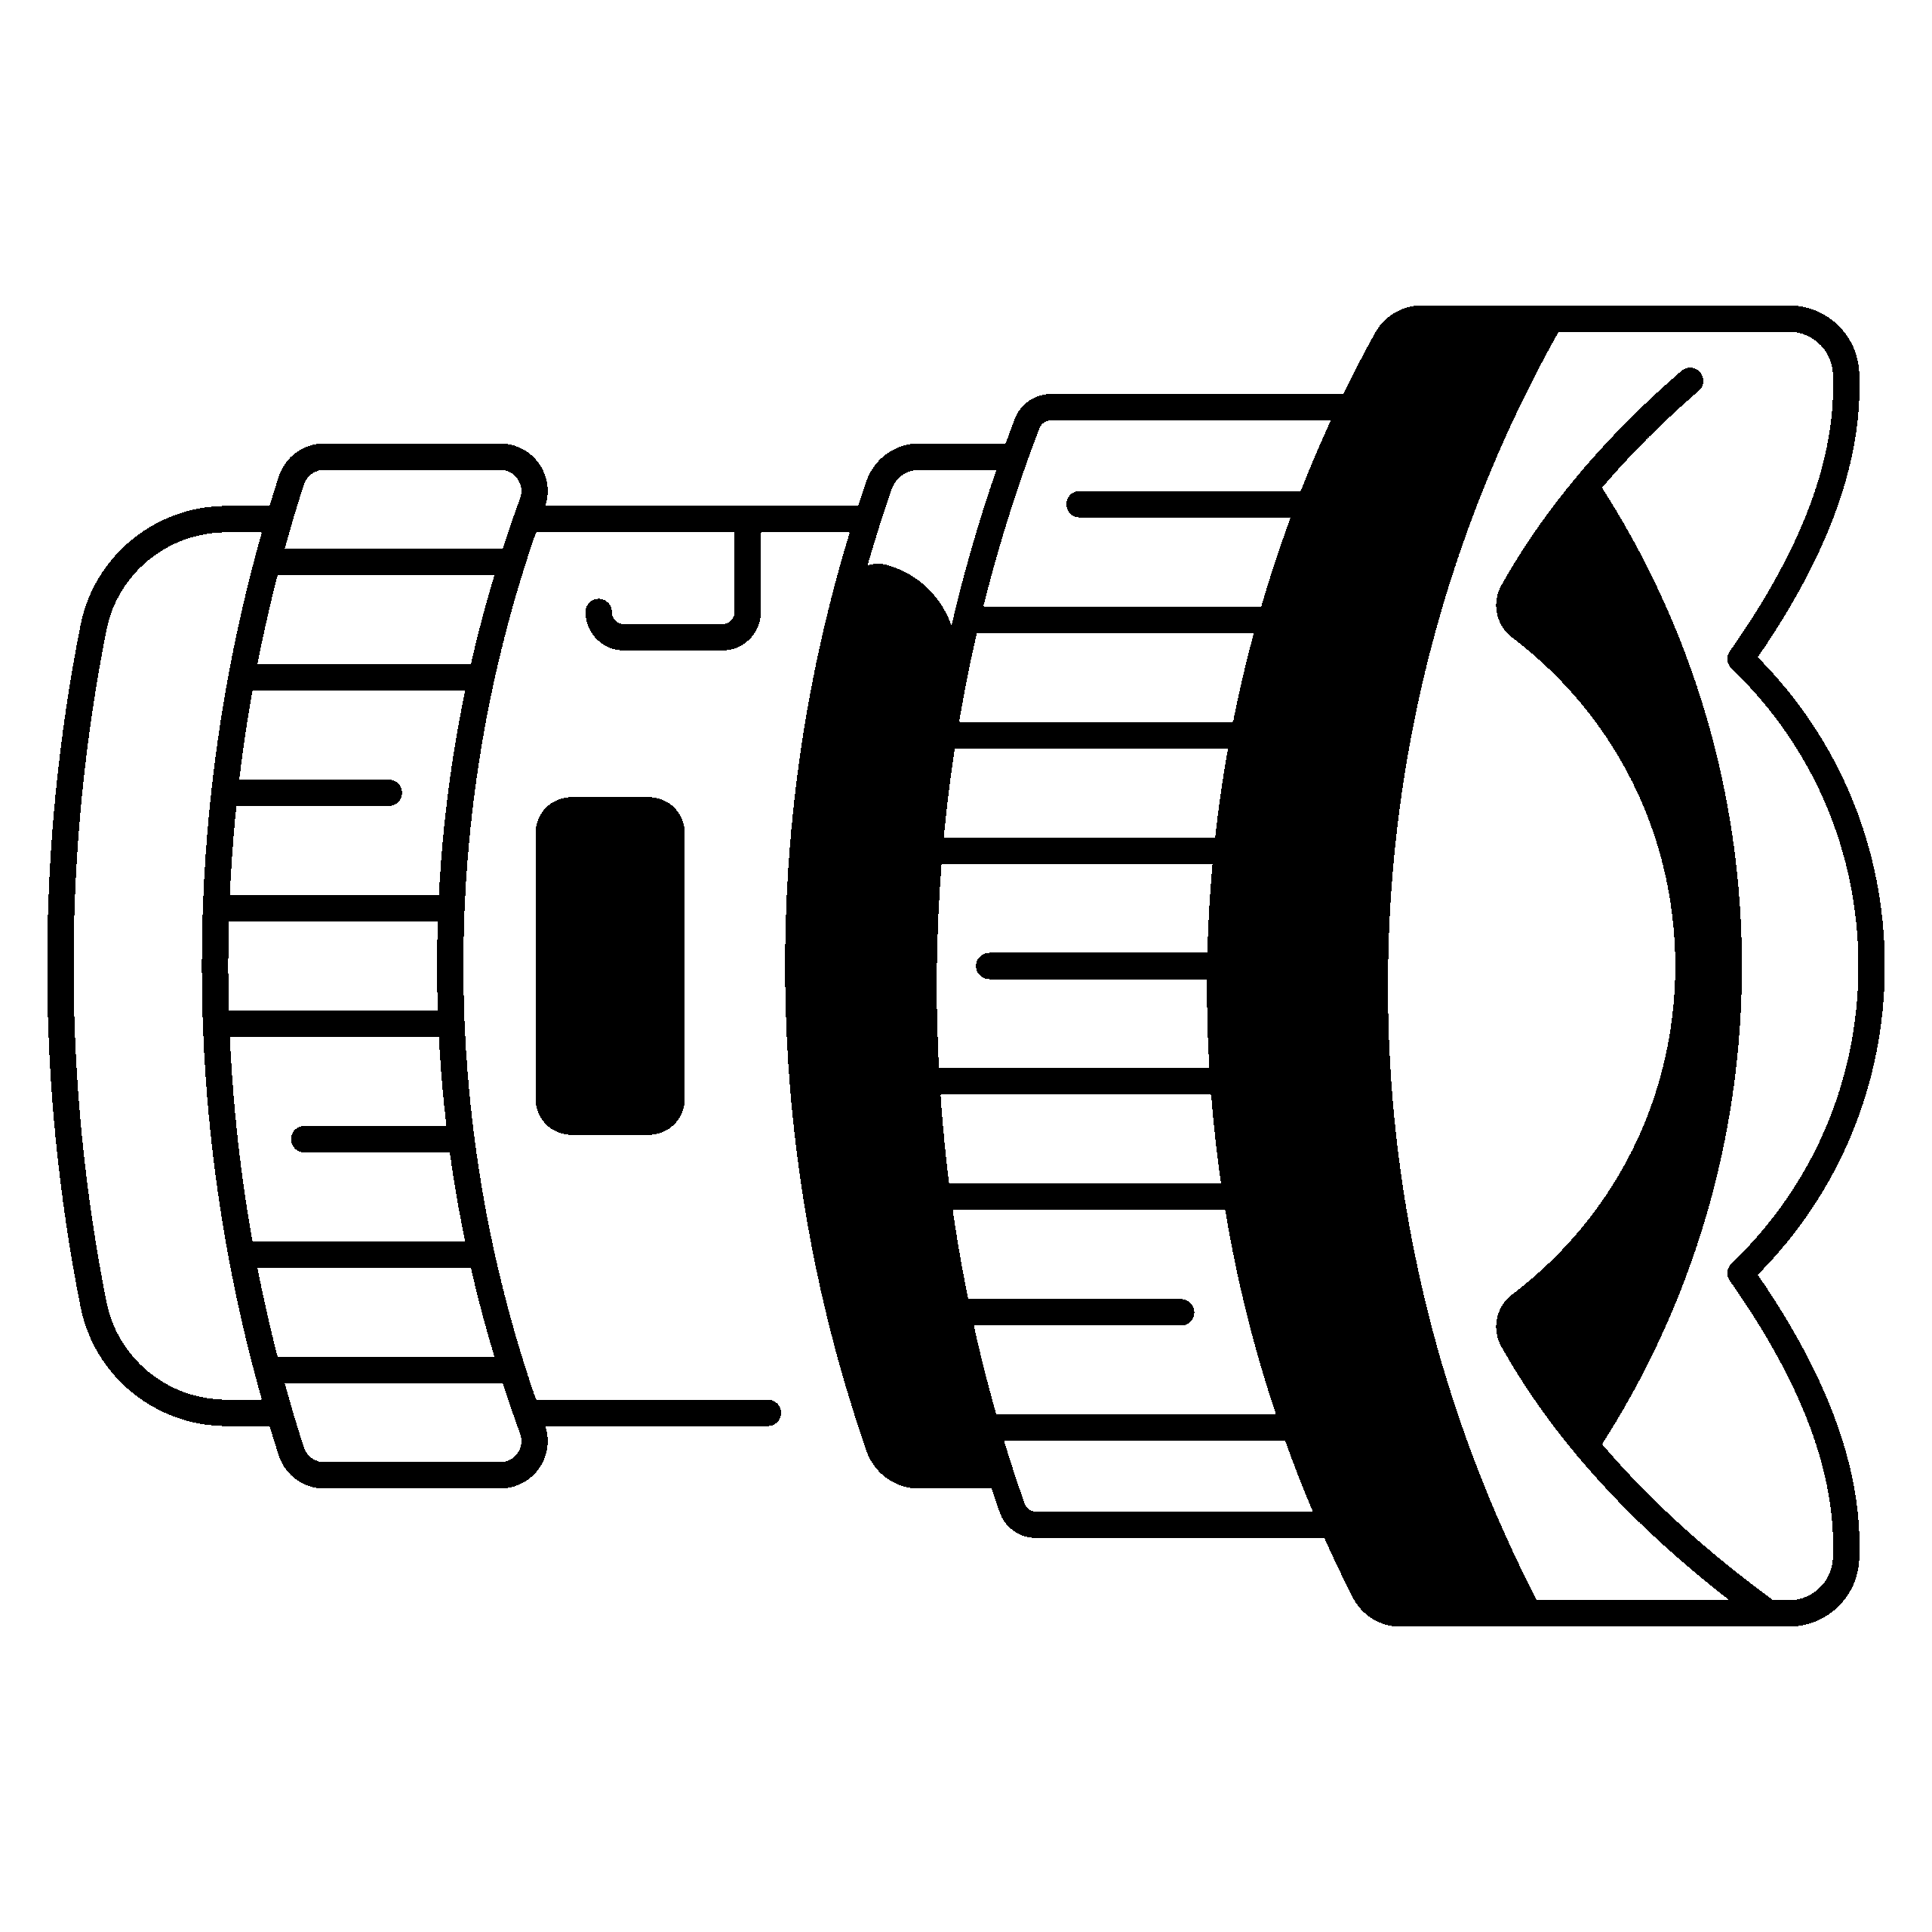
Lens
A wide-angle lens with a fast aperture helps capture more sky and more light.

Tripod
A sturdy tripod is essential. Even small movements can ruin a long exposure.
Extra Batteries
Cold weather drains batteries quickly, so keep spares warm inside your jacket.

Remote Shutter
A remote shutter or timer helps avoid camera shake during long exposures.

Headlamp
A red-light headlamp helps you see without ruining your night vision.
Recommended Aurora Camera Settings
Start with these settings, then adjust depending on aurora strength, moonlight, cloud cover and your camera.
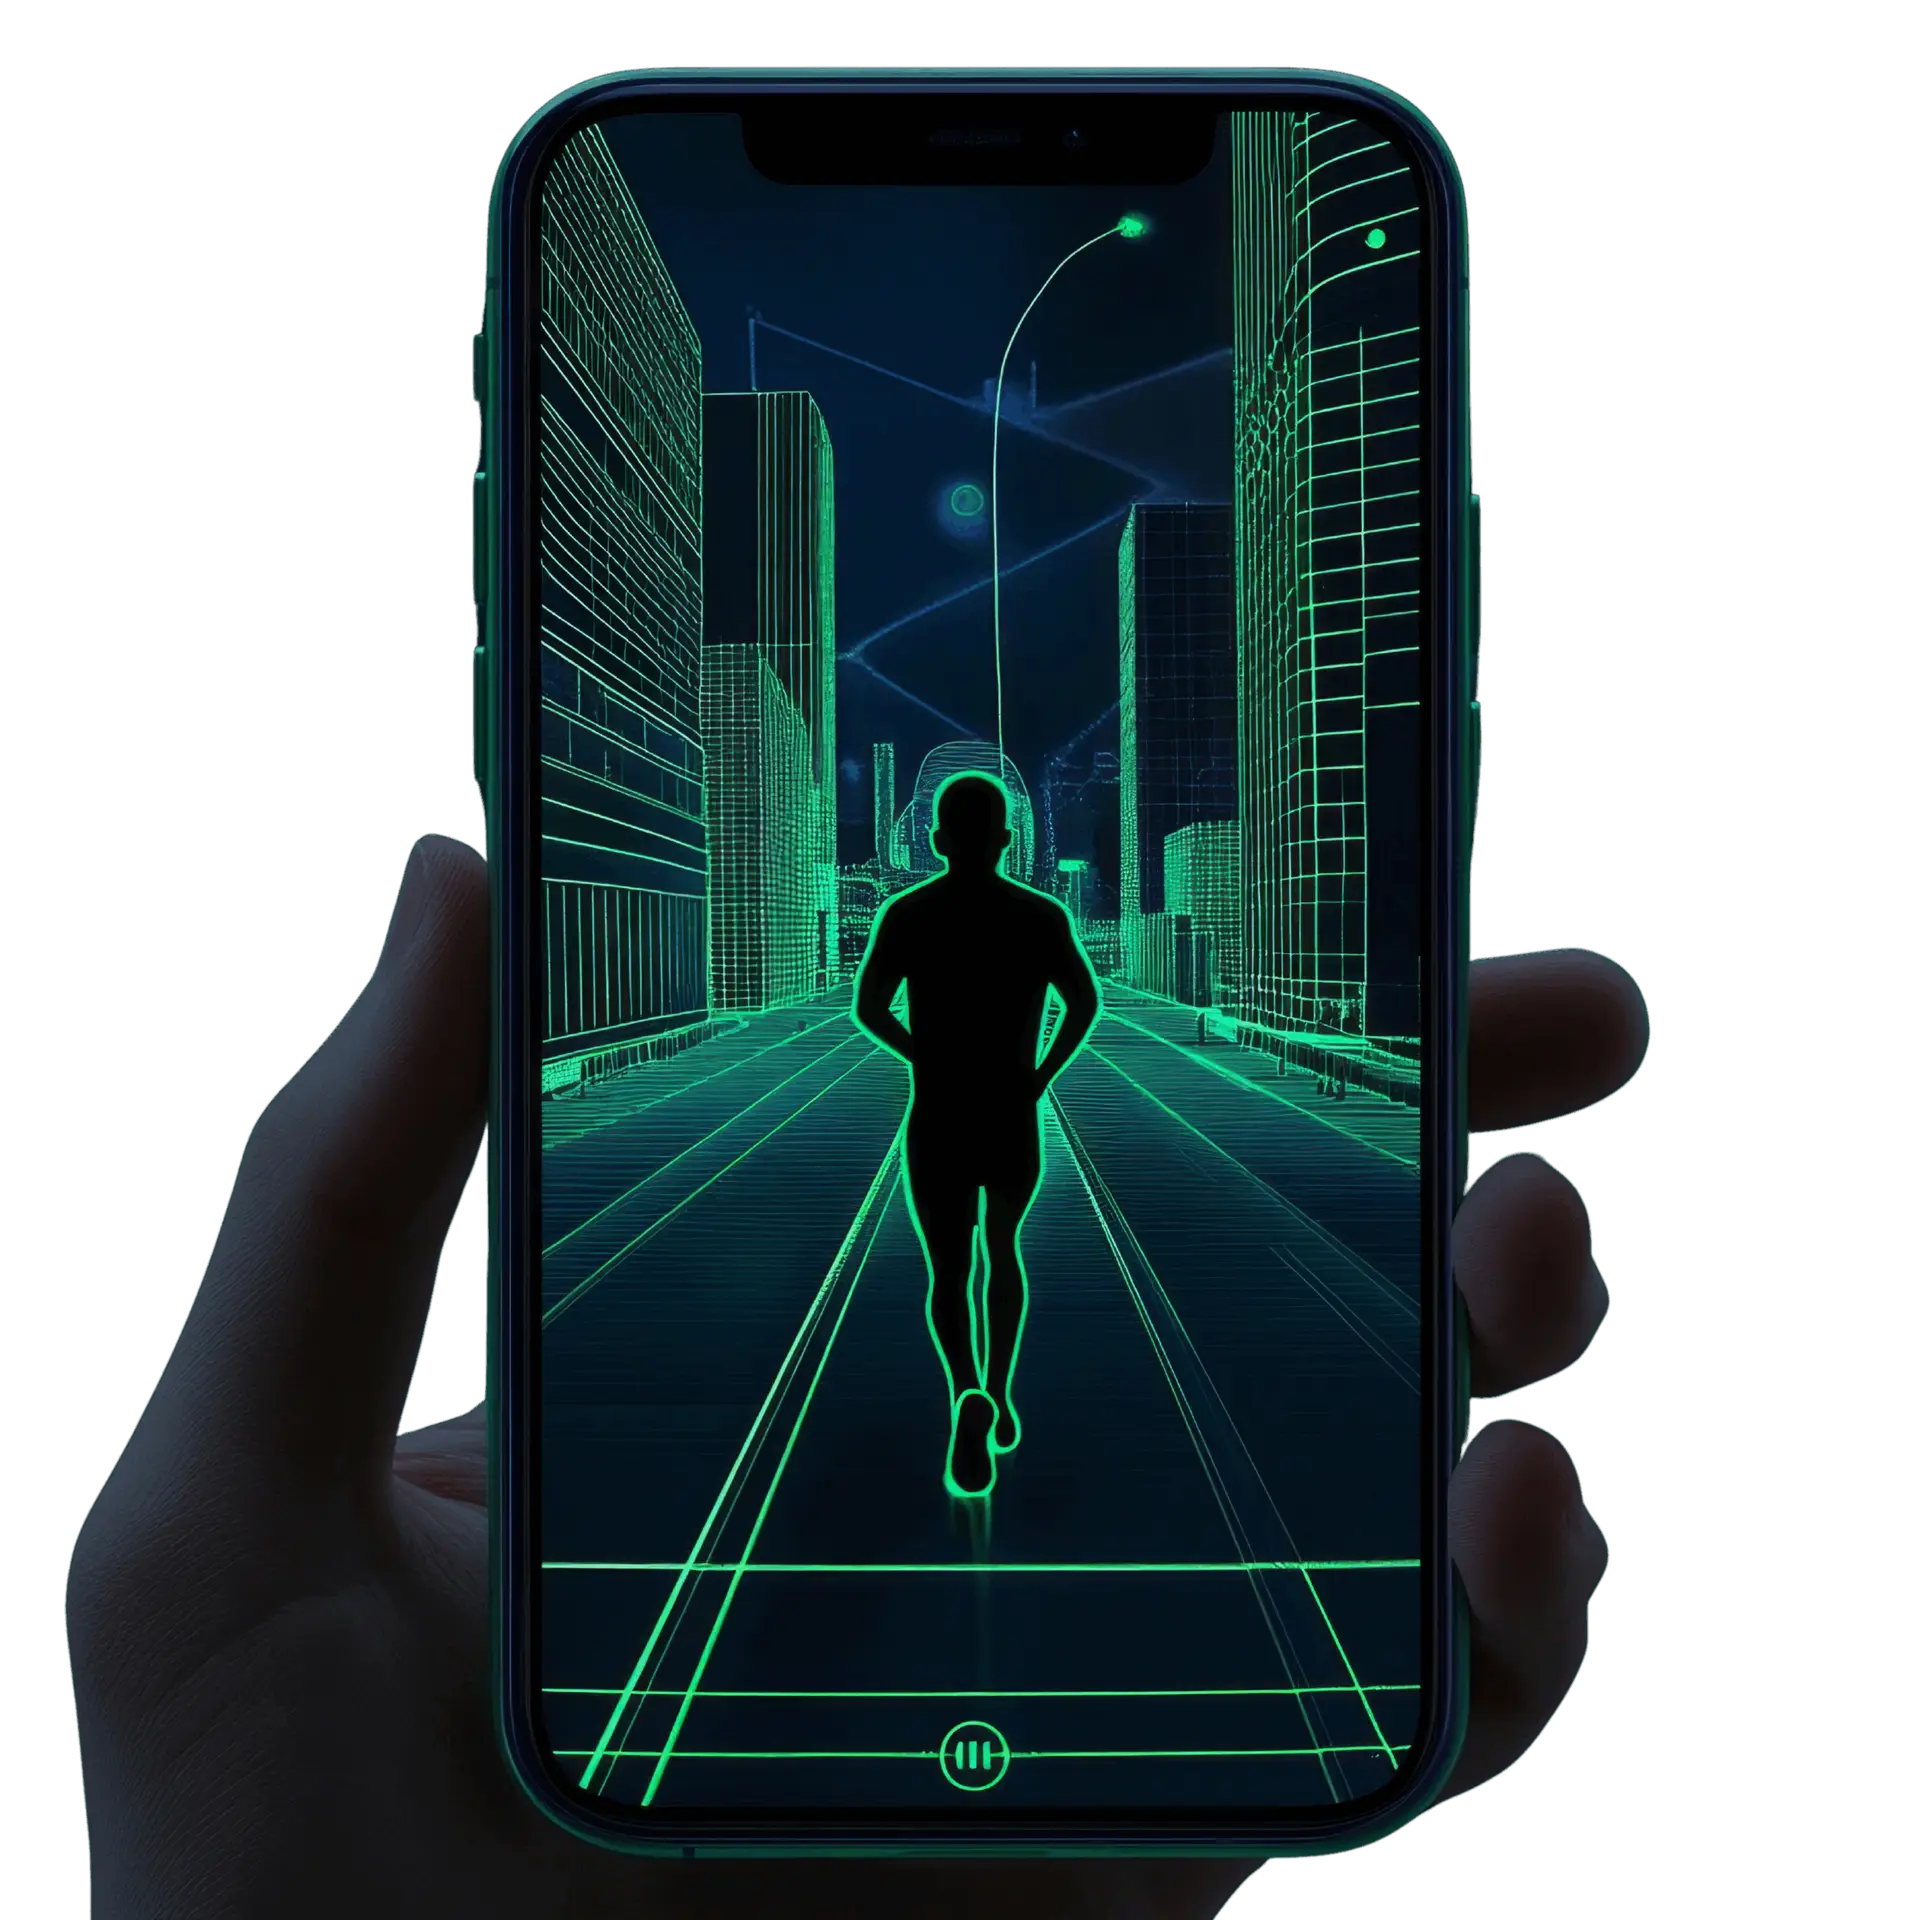
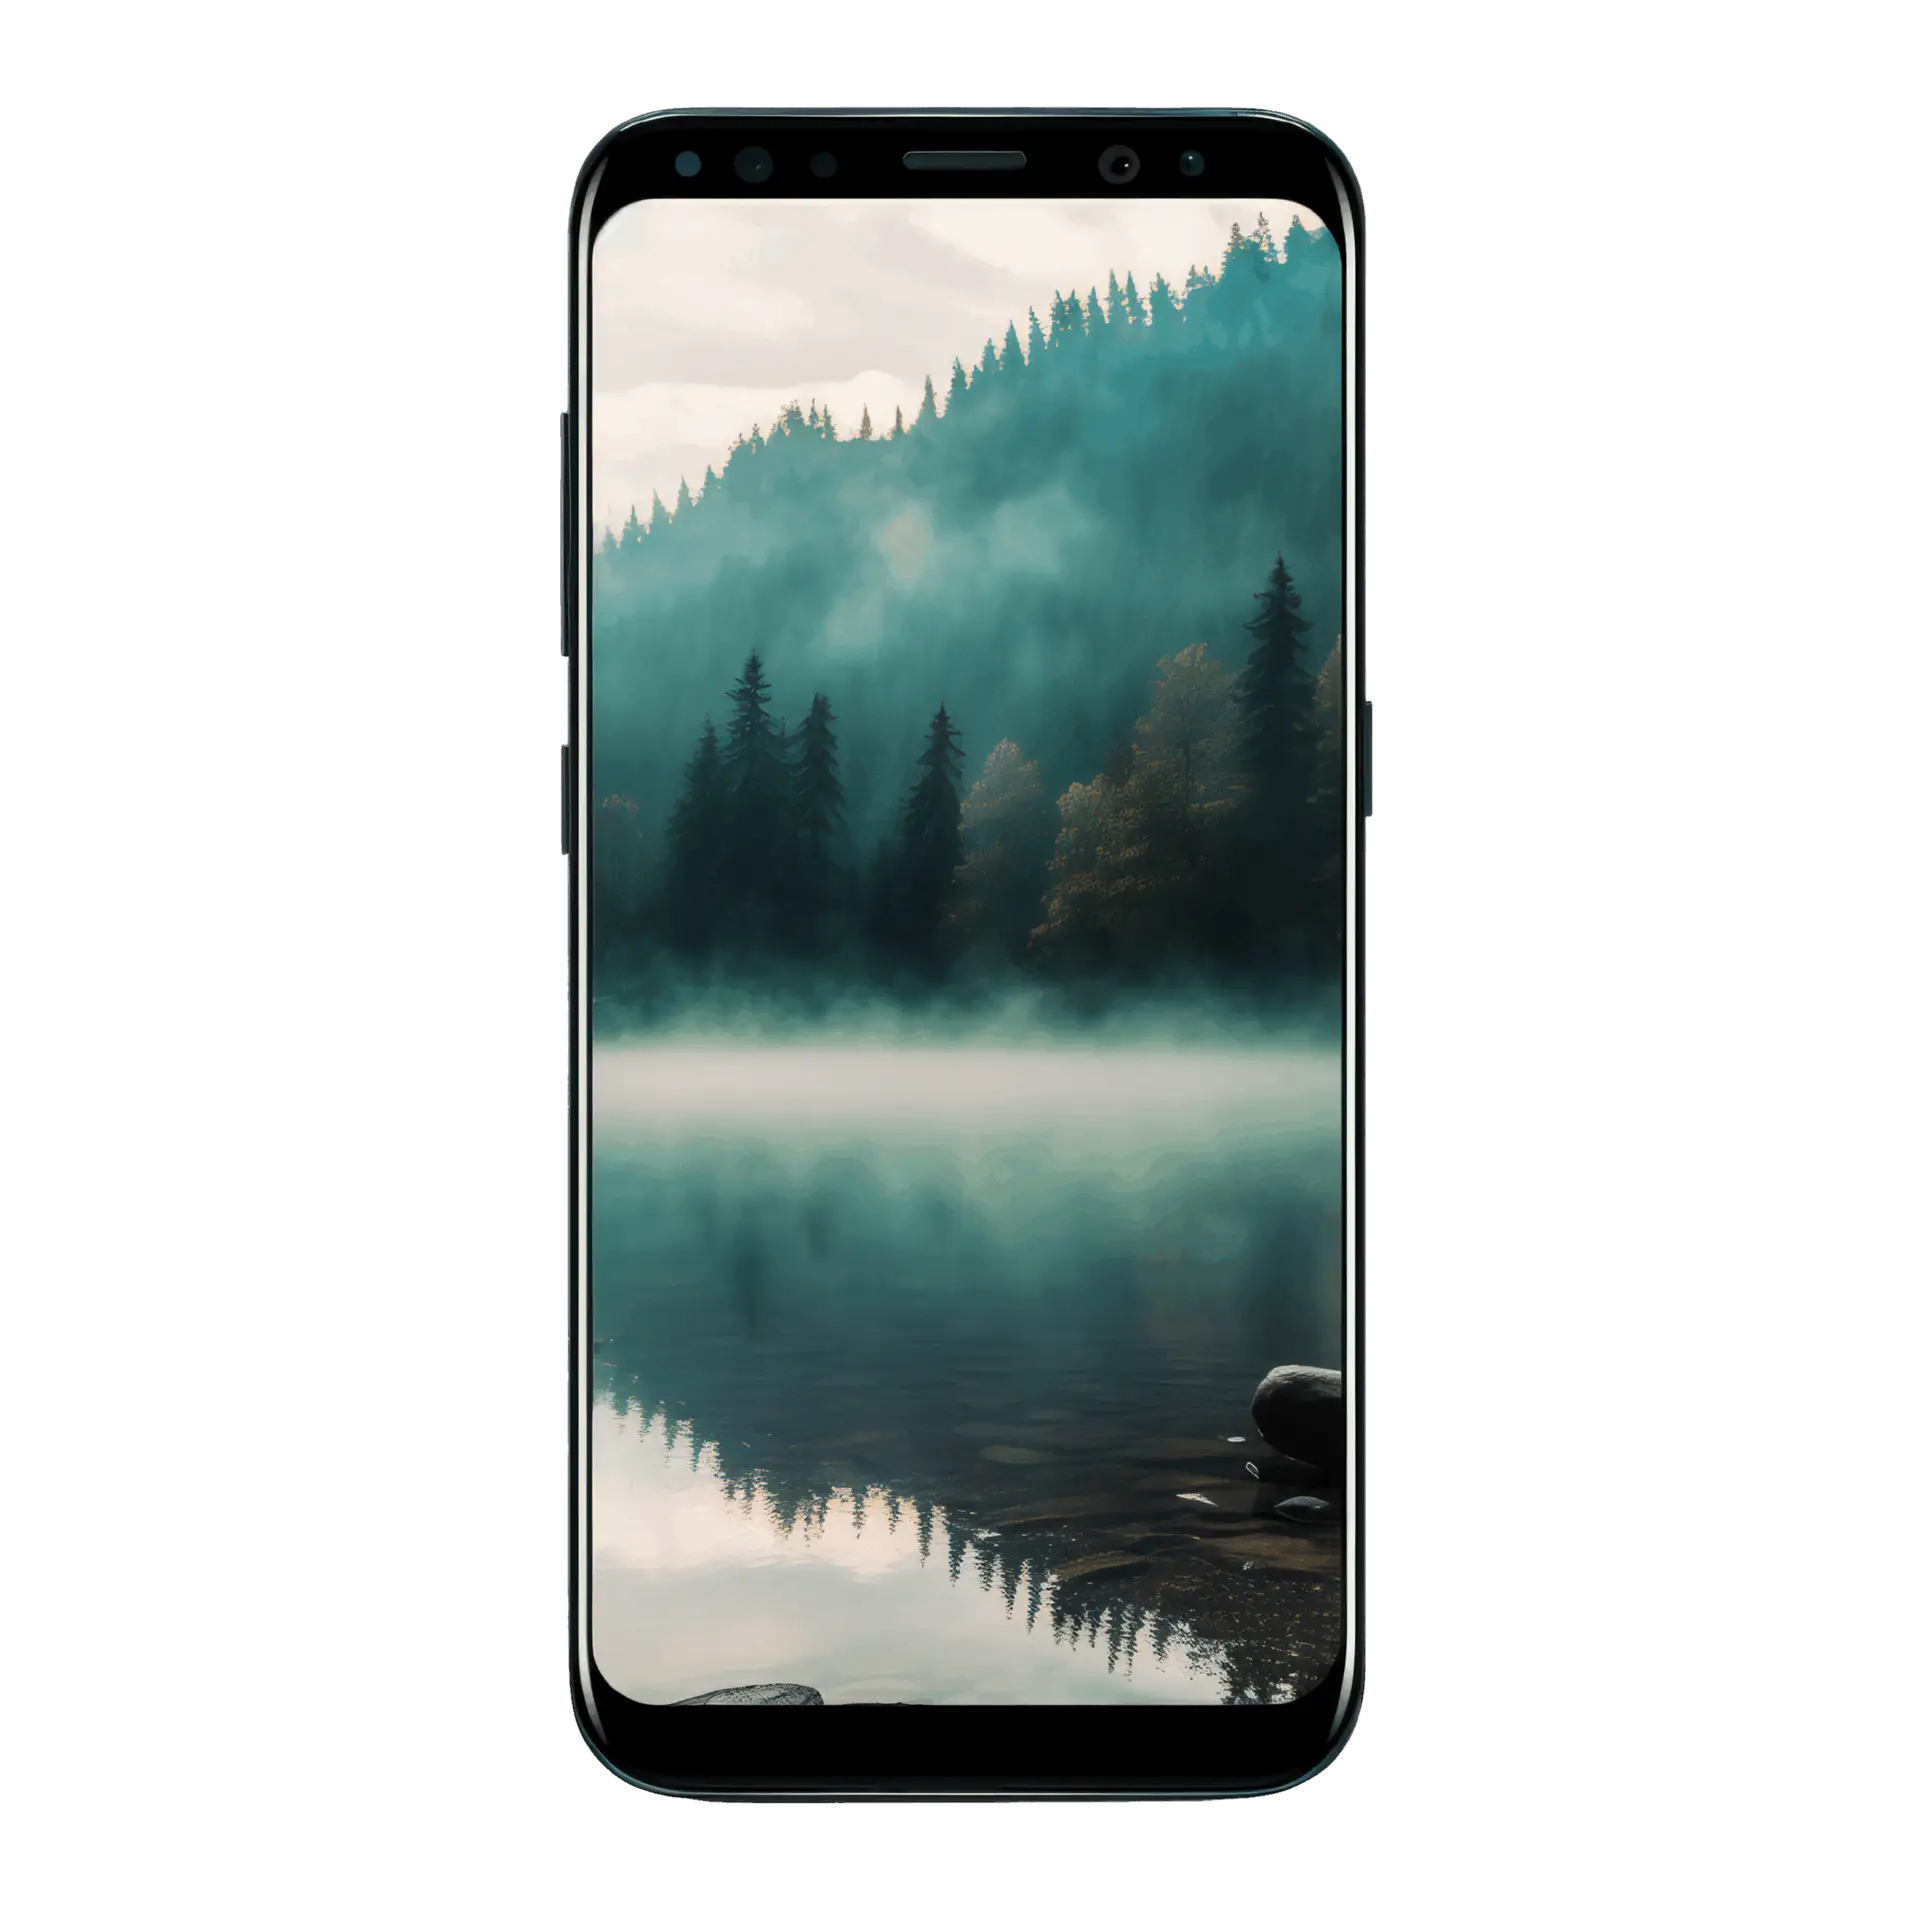
Can You Photograph the Aurora with a Smartphone?
Yes — many modern smartphones can capture the northern lights, especially during strong aurora activity and under dark, clear skies.
Use night mode, keep the phone completely steady and avoid hand-held long exposures. A small tripod or resting the phone on a stable surface can make a big difference.
Smartphone Tips
Use night mode, avoid flash, keep the lens clean and hold the phone completely still.
Why Phones Work
Modern phones are fast, lightweight and surprisingly capable during bright aurora displays.
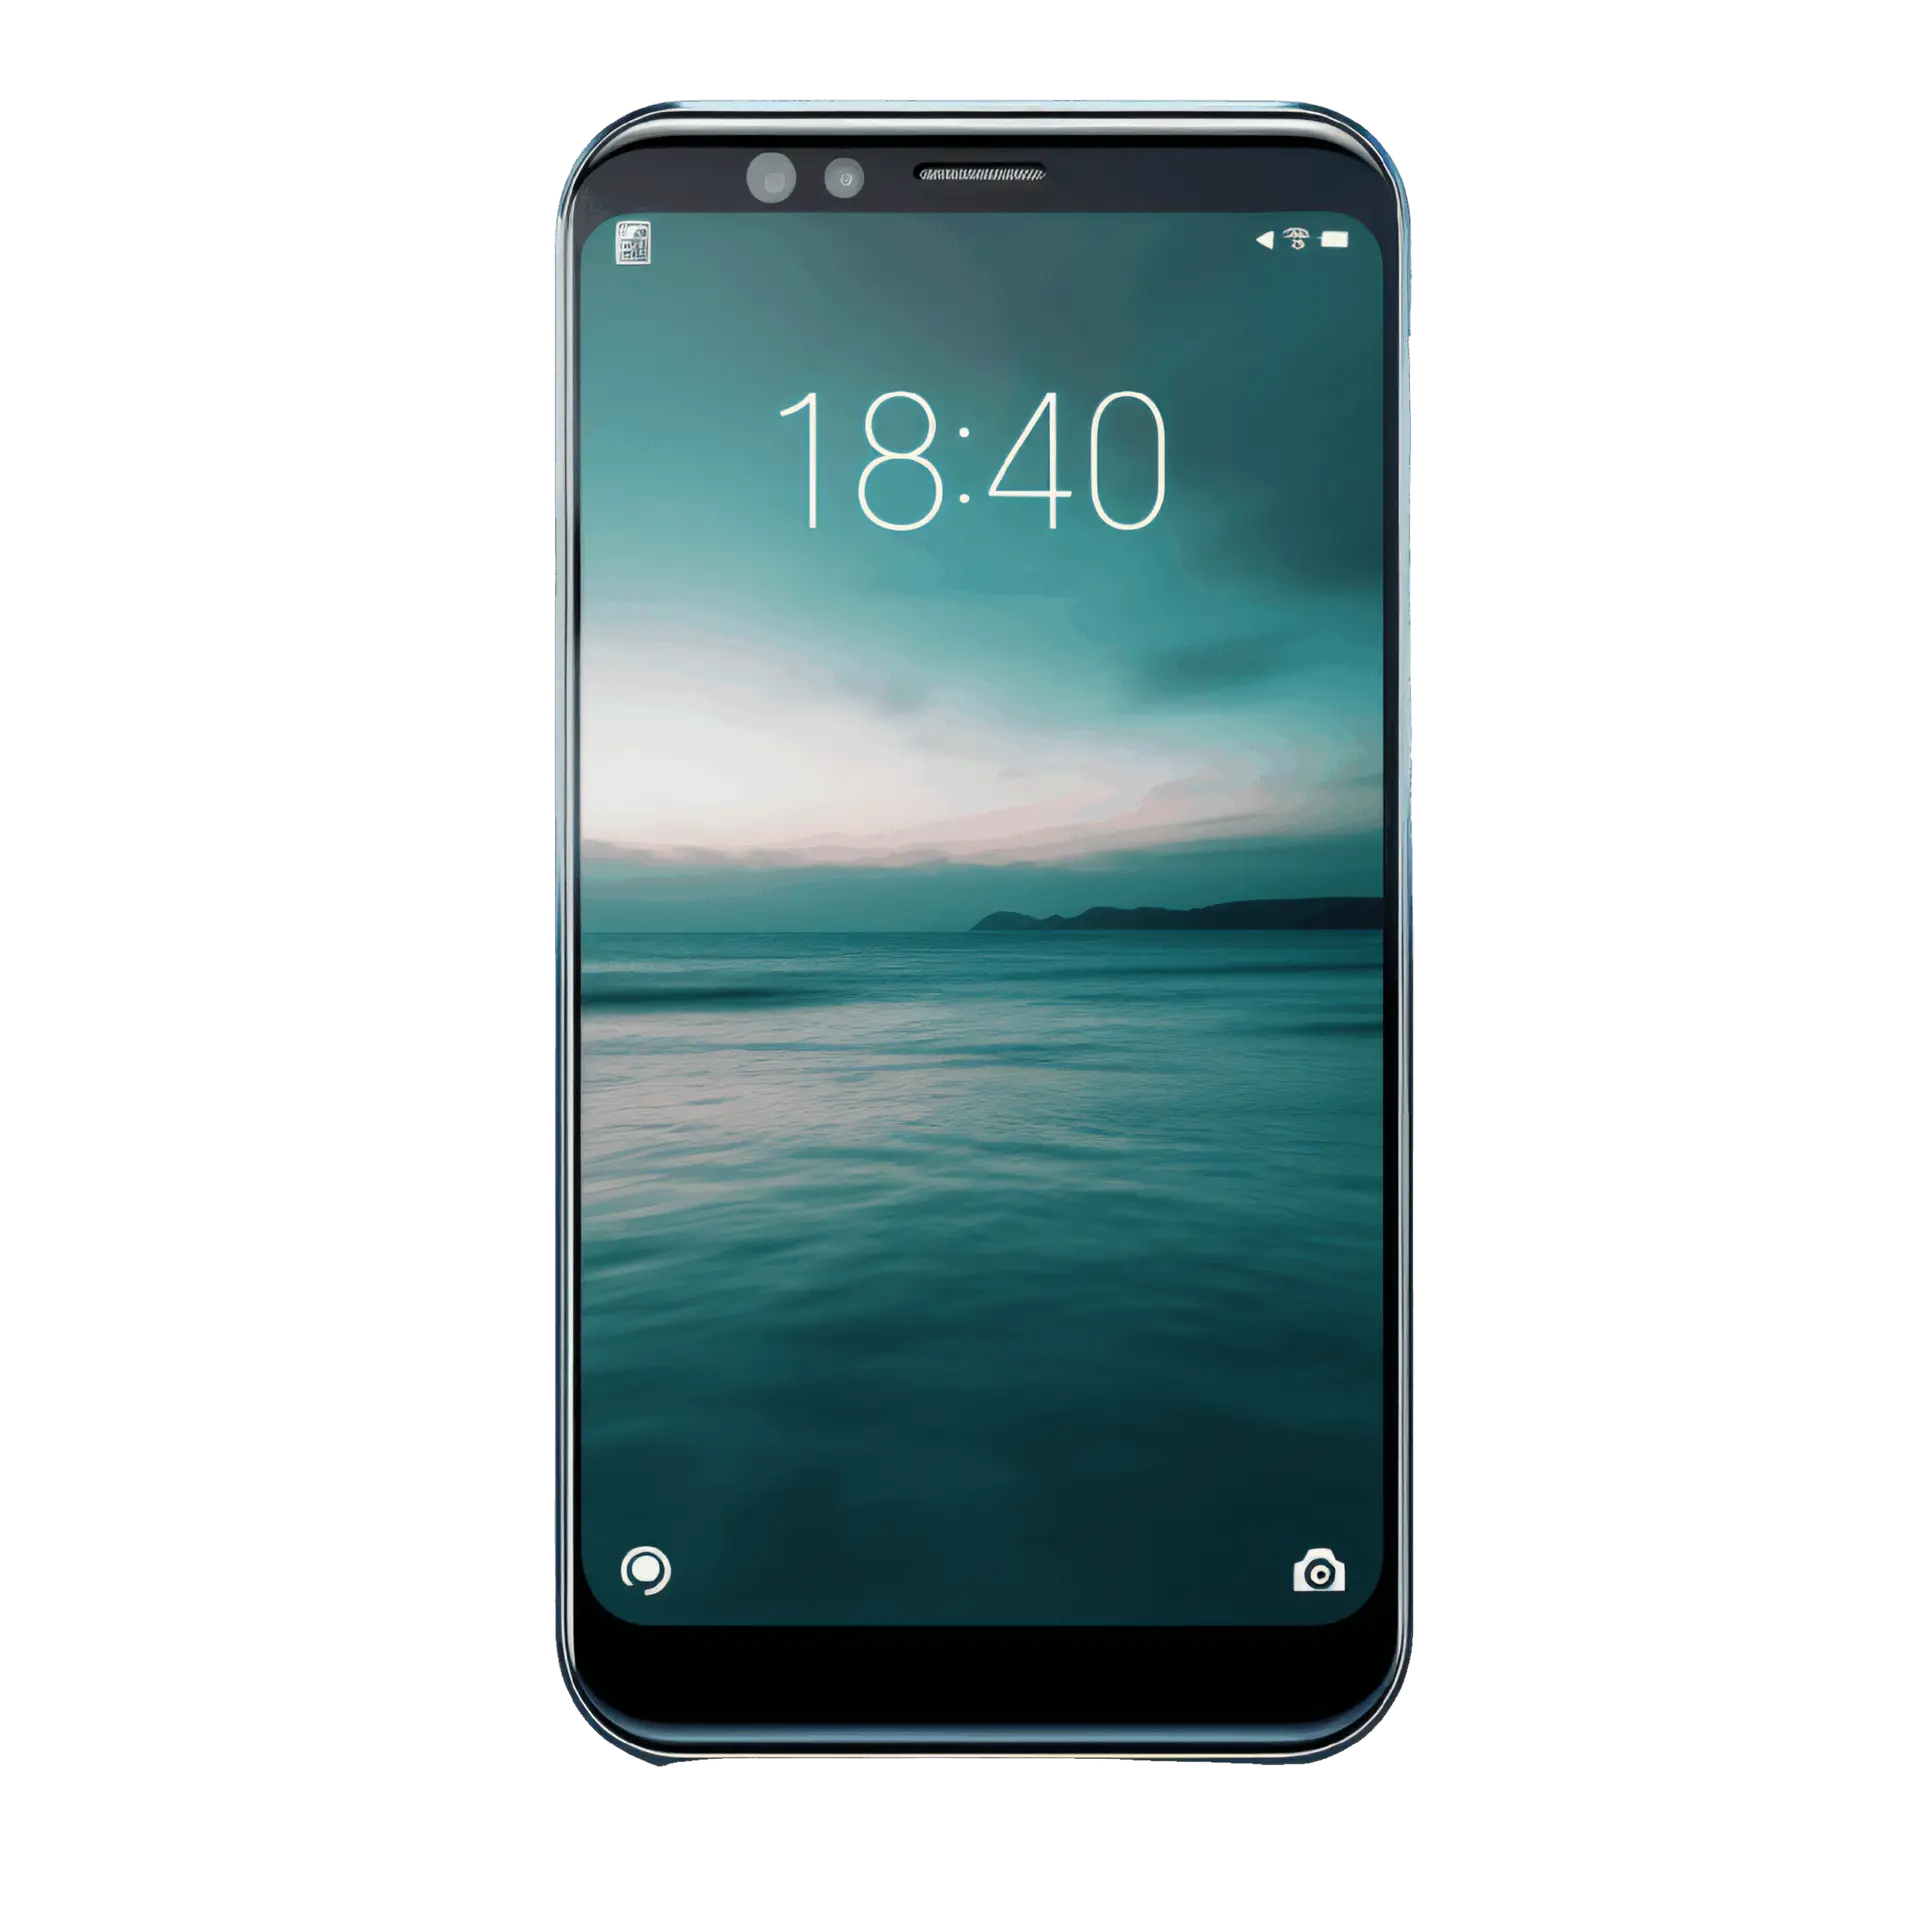
Limitations
Phones struggle more with faint aurora, image noise and fast-moving northern lights.
Top 5 Aurora Photography Mistakes to Avoid
Small details can ruin otherwise beautiful aurora photos. Avoid these common mistakes before the sky starts dancing.
Going Beyond Still Photos — Video and Timelapse
Still photos are beautiful, but the northern lights are also about movement. Video and timelapse can bring the aurora experience to life by showing how the sky changes, dances and develops over time.
Video of the Aurora
Capturing real-time aurora video requires excellent low-light performance, a fast lens and a steady setup. When conditions are strong, video can show the movement, waves and curtains of the northern lights in a way still photos cannot.
Timelapse of the Aurora
Timelapse is often easier to create and can produce dramatic results from a series of still images. It shows how the aurora grows, shifts and moves across the Arctic sky over several minutes or hours.
Video vs. Timelapse — What’s the Difference?
Video captures the real-time motion of the aurora, while timelapse captures its progression over time.
Video usually requires more advanced low-light equipment, while timelapse can often be created with a mirrorless or DSLR camera, a tripod and interval shooting. Both techniques are powerful ways to bring your aurora memories to life.