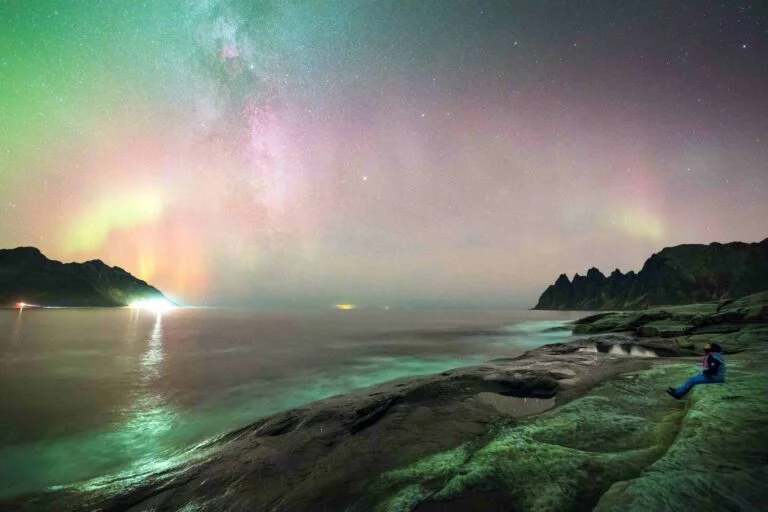
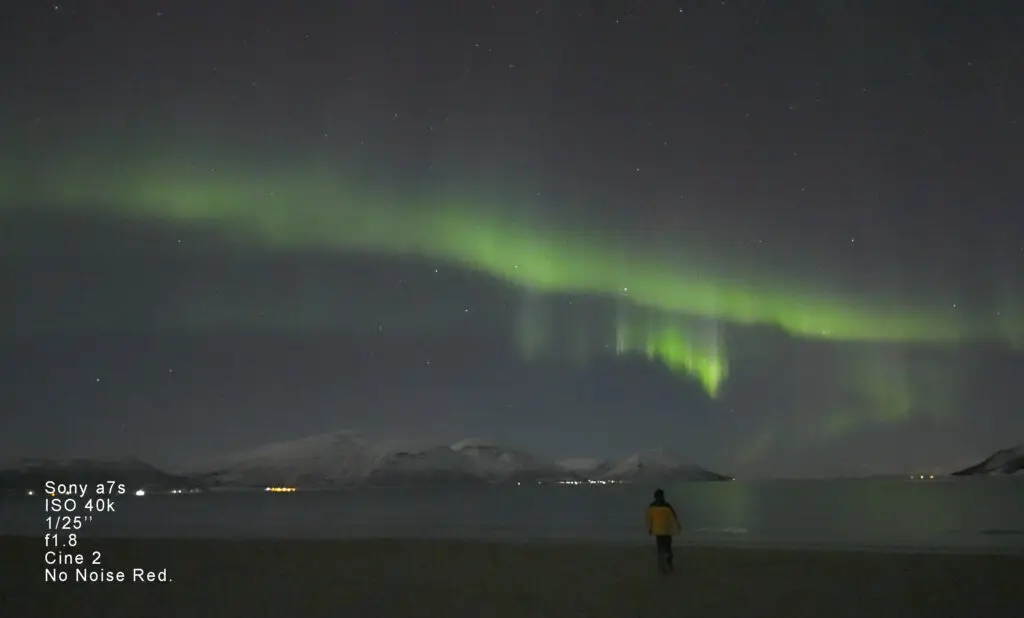
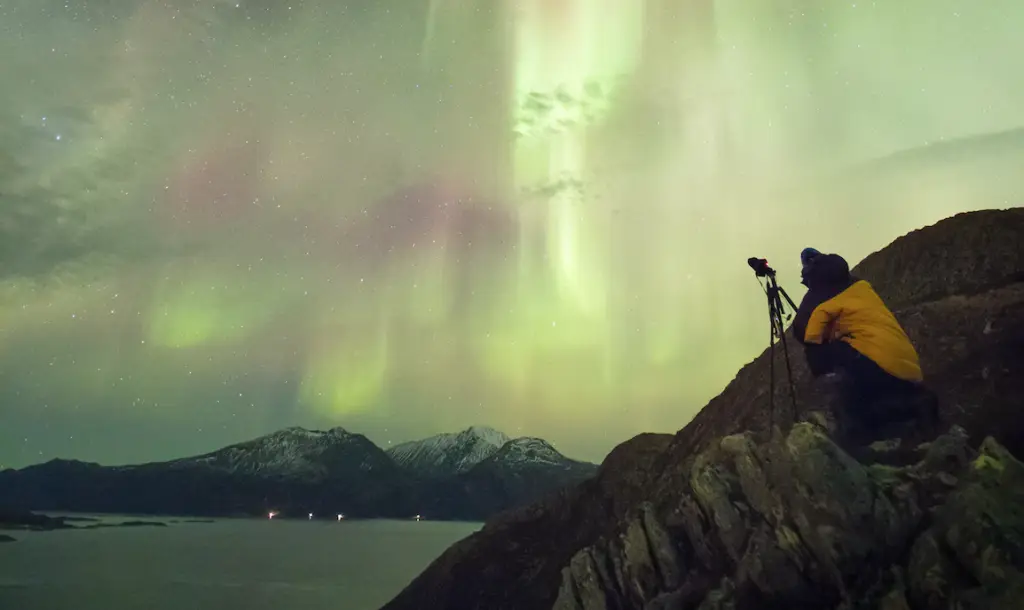
Filming the Aurora Borealis real-time, demanding but rewarding!
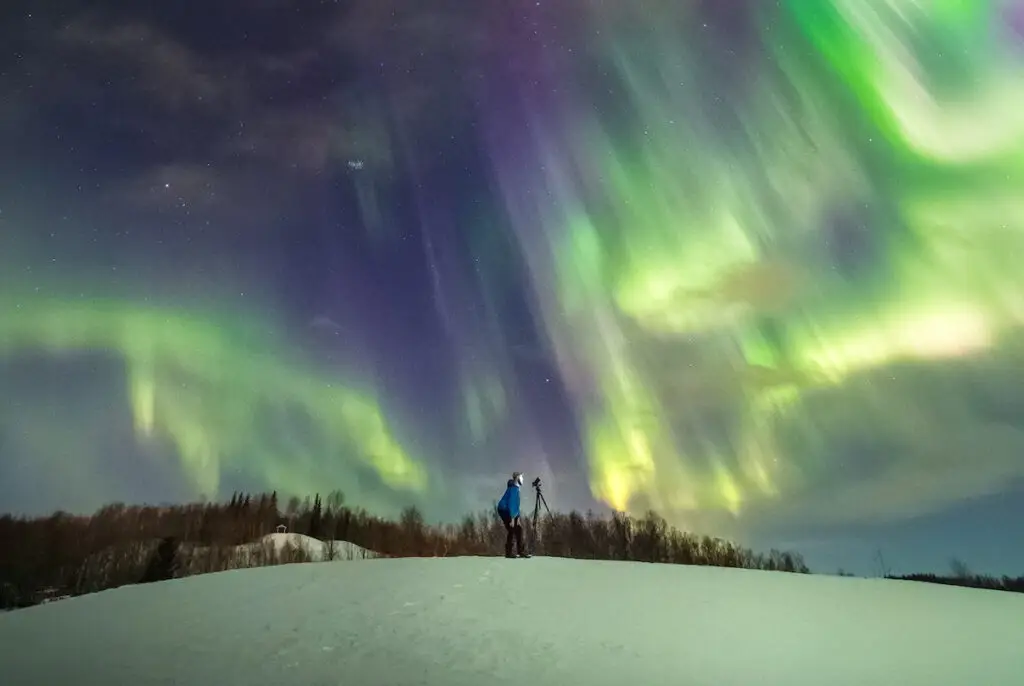
- Credits: Adrien Mauduit
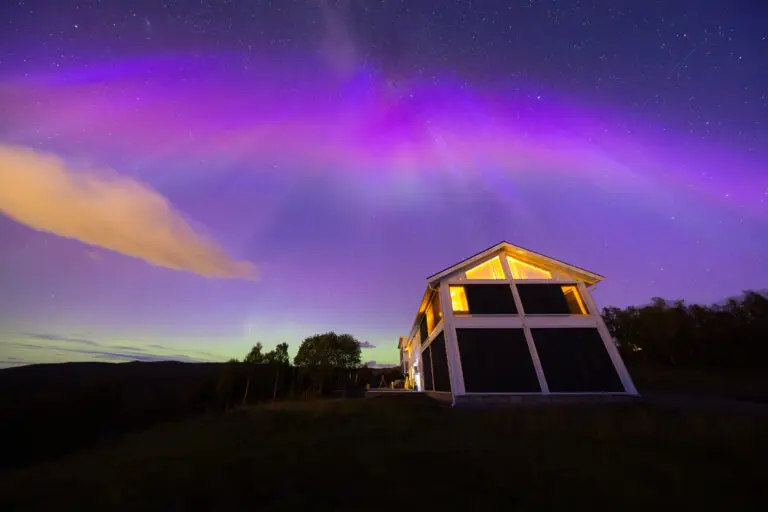
Up at the Aurora Borealis Observatory conditions for filming the aurora is amazing. While waiting for the aurora you can also enjoy a good meal at Fjösn Restaurant & Bar.
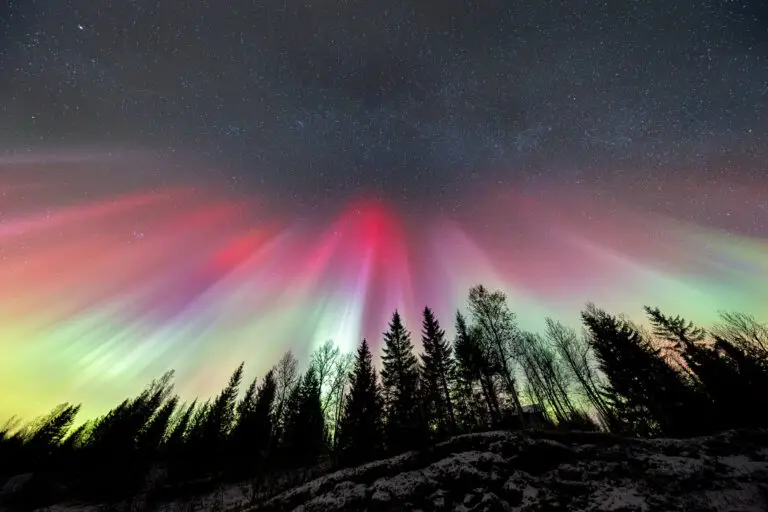
As the tourism industry for aurora sight-seeing is booming like never before, more and more people want to capture the magnificent phenomenon in pictures to bring home. Some visitors might even catch the very fast-evolving and brighter expansion phases of magnetic substorm producing rapidly dancing pinks and greens! These auroras typically appear much better on real-time film than captured in a single frame.
However, many people find themselves unable to record the Green Lady as they pull their smartphones out of their pocket, or even as some set their personal cameras to movie mode. Why is it such hassle to tape the aurora, and why are actual real-time aurora movies so rare in this day and age of advanced digital technology?
- Credits: Adrien Mauduit
Taking good pictures of the aurora with sharp stars, defined pillars and a good composition is not necessarily a walk in the park, due to its very elusive nature. But have you ever tried filming the phenomenon in real-time? If you have, you most likely asked yourself why the resulting sequence was so dark, colorless and noisy… You figured it out. It turns out to be even more challenging to capture the dancing lights in a movie than it is on a single exposure, which allows you to slow down the exposure time to get in more light, and thus more details, colors, and most importantly less noise.
By definition, the minimum shutter speed to take a real-time sequence is 1/30 or 1/25 of a second if your camera can allow it. Indeed, the required minimum frames per second to get a smooth movie that does not lag between images is 24 or 23.97 fps (frames per second). Most cinematic movies use this frame rate. Below this, it is not considered ‘real-time’, as your eyes will be able to tell the difference between the individual pictures of the film. At 24 fps, your eyes get ‘confused’ and synthesize a smooth moving sequence. Some movies do use higher frame rates (30, 50, 60fps…) for a more real-life look.
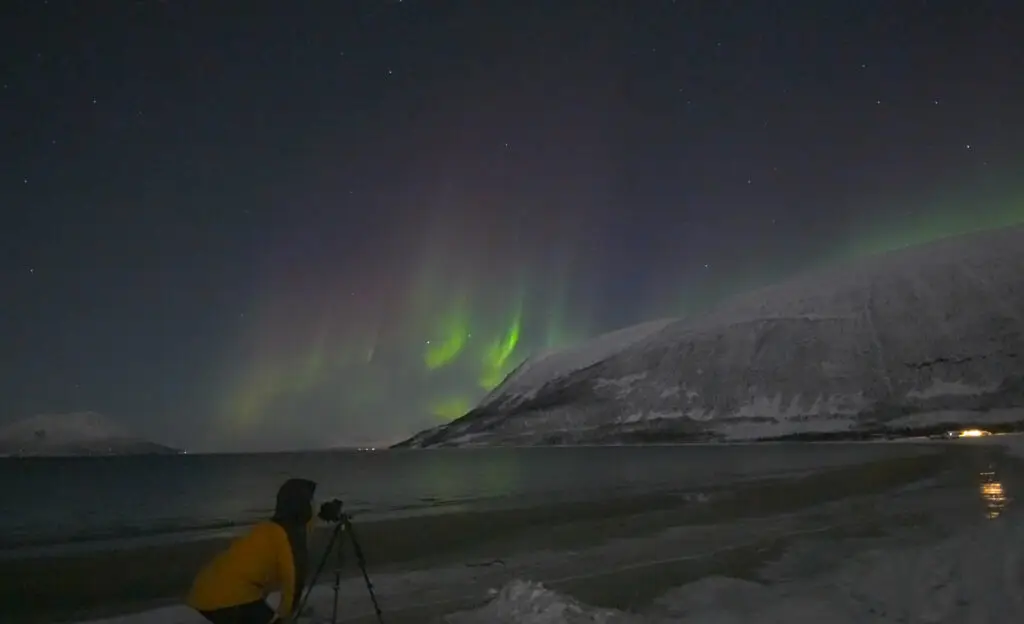
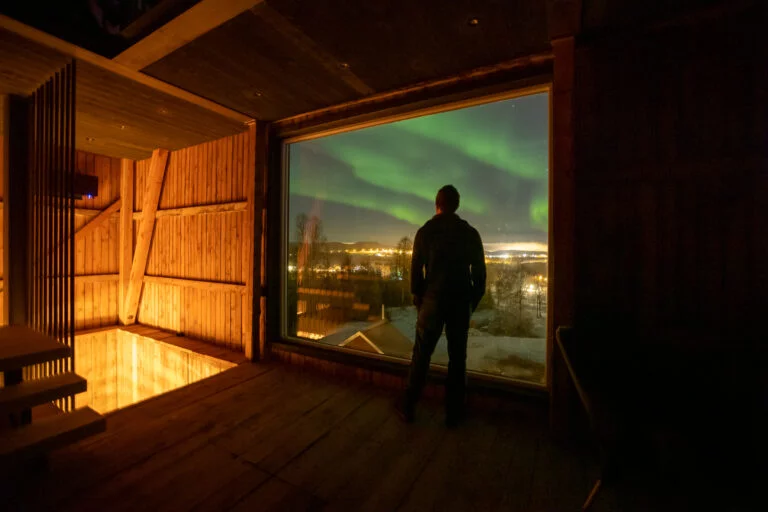
- Credits: Adrien Mauduit – Filming the Aurora Borealis real-time
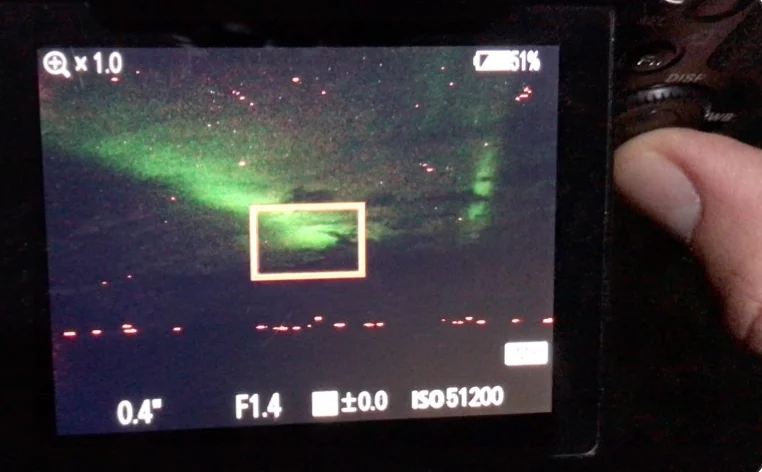
However, even at the lowest frame rate/shutter speed required 1/25’’ (25fps) to film the aurora in real-time, it is an extremely short exposure time! Indeed, a shutter speed of at least 1 second for the brightest aurora is always recommended! Reducing from 1’’ to 1/25’’ is reducing the incoming light by 4 and 2/3 stops of light!
This means that one way or another, you are going to have to compensate for this huge loss of signal by adjusting either the aperture or the ISO. And that will be even worse if the aurora is faint! Every stop of light you can gain will be crucial in this matter. As the aperture will be fixed, a lens that can open below f/2 is imperative. The ISO will be the setting that you will have to crank up to unbelievable numbers (usually well above 12800!).
- Credits: Adrien Mauduit
Gear for filming the aurora
Camera. most cameras, whether filming, DSLR, mirrorless or compact are not made to film in extreme low light. Their sensor is just not tailored to handle such high ISOs. However, a few can. The most affordable is probably the Sony a7s series (mark 1, 2 & 3). Pentax and Lumix also offer middle-range affordable cameras. The new Canon R6 seems to be able to film at ISO 25600 without much noise. If you are looking at cinema cameras, the Sony FX6 or Canon ME-20f are the best options, but they are extremely expensive.
Lens. As mentioned above, every stop of light will count. Therefore, you should choose a lens that is wide, sharp at wide apertures, and that can open at below f/2, the optimum being f/1.4 or below. Sigma, Lowa and Samyang have sharp enough and cheaper options.
- Credits: Sony
Settings
Shutter speed. Go for the lowest for real-time. 1/25’’ if you can, if not 1/30’’ will work. Don’t use lower shutters that you re-accelerate in post, as it will not be real-time and actually bring you undesirable noise movement that is very hard to remove.
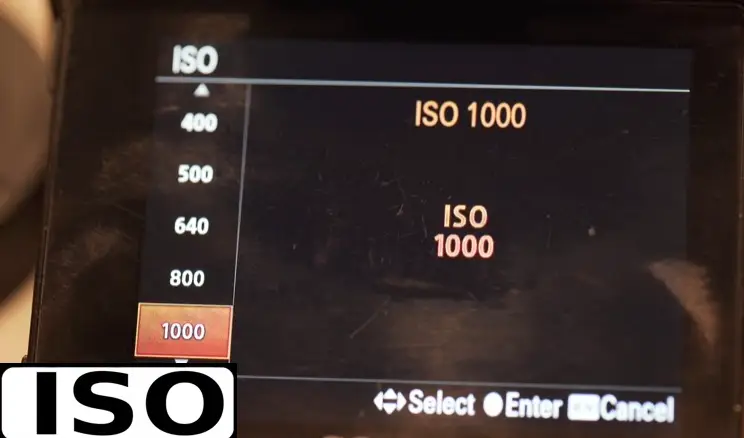
ISO. Anywhere between 12800 to 100K to achieve a correct exposure.
Aperture. Prefer an aperture that is wide open in most cases. It is better to accept a degree of aberration, degrading slightly the quality of stars and corners, rather than stopping down and letting the noise destroy the general
Picture Profile (PP). Most cameras offer different ‘filming modes’ with different ‘gammas’ and ‘color gamuts’. Standard filming is when both gamma and CG are set to ‘still’ (same as pictures). However, this ‘standard’ filming mode offers quite a limited dynamic range, much like shooting a still picture in ‘auto’ mode instead of ‘Manual’. All professionals and more advanced filmmakers never use the ‘no PP mode’, as they want to take advantage of a wider dynamic range to post-process the sequence, also called ‘color grading’.
- Credits: Adrien Mauduit – Filming the Aurora Borealis real-time
Changing between picture profiles essentially does not change the amount of noise, just the dynamic range and the general look. However, some PPs will force you to increase the ISO more to achieve a good exposure in pitch dark conditions, which will bring you a noisy film. Some other PP, like ‘no PP’ will just make noise more visible in post-processing, because of the poor dynamic range and decreased color-grading possibilities. So, which is the best PP for aurora, which gives you the best results straight out of the camera, without having to buy an expensive professional noise-reduction software or spend hours of color-grading?
Many professionals usually never dare to use anything else than ‘Log’ gamma, as this PP gives you the best dynamic range. Depending on the manufacturer, it may be called S-Log (Sony) or C-Log (Canon) for example. However, if you are not shooting in situations where you have hard contrasts (city lights, full moon…), pitch black scenes have a very narrow dynamic range anyways. Plus, it is always recommended to overexpose by at least 2 stops of light to achieve a good exposure with S-Log. In order to do so, you’ll have to crank up the ISO to unimaginable values (>80K) and that will bring you much more noise, especially if the signal to noise ratio is poor. That’s when even professionals struggle to color-grade such sequences with powerful noise-reduction algorithms!
- Credits: Adrien Mauduit – Filming the Aurora Borealis real-time
For Sony cameras, the PP that gives you the best results straight out of the camera with very limited noise, even at high ISOs is PP6 (Cine 2 gamma). It gives you slightly less dynamic range than Log, but it will only give you minimal grading work and remember that the dynamic range at night is not very wide anyways (no hard contrasts), except maybe when shooting towards the full moon (hence Cine 2 over Log). For Canon cameras, you might want to look into changing to C-Log, or at least lift the blacks for the gamma. That will give you generally better results, even without post-processing.
Hope you enjoyed the quick guide to Filming the Aurora Borealis real-time.